Bake, bake, as fast as you can! You’ll be on your way to a delicious treat in no time with these Easy Gingerbread Cookies inspired by The Gingerbread Man. No mixer is needed and the dough is super easy for bakers of all ages to roll and cut, leaving more time for the best part—decorating!
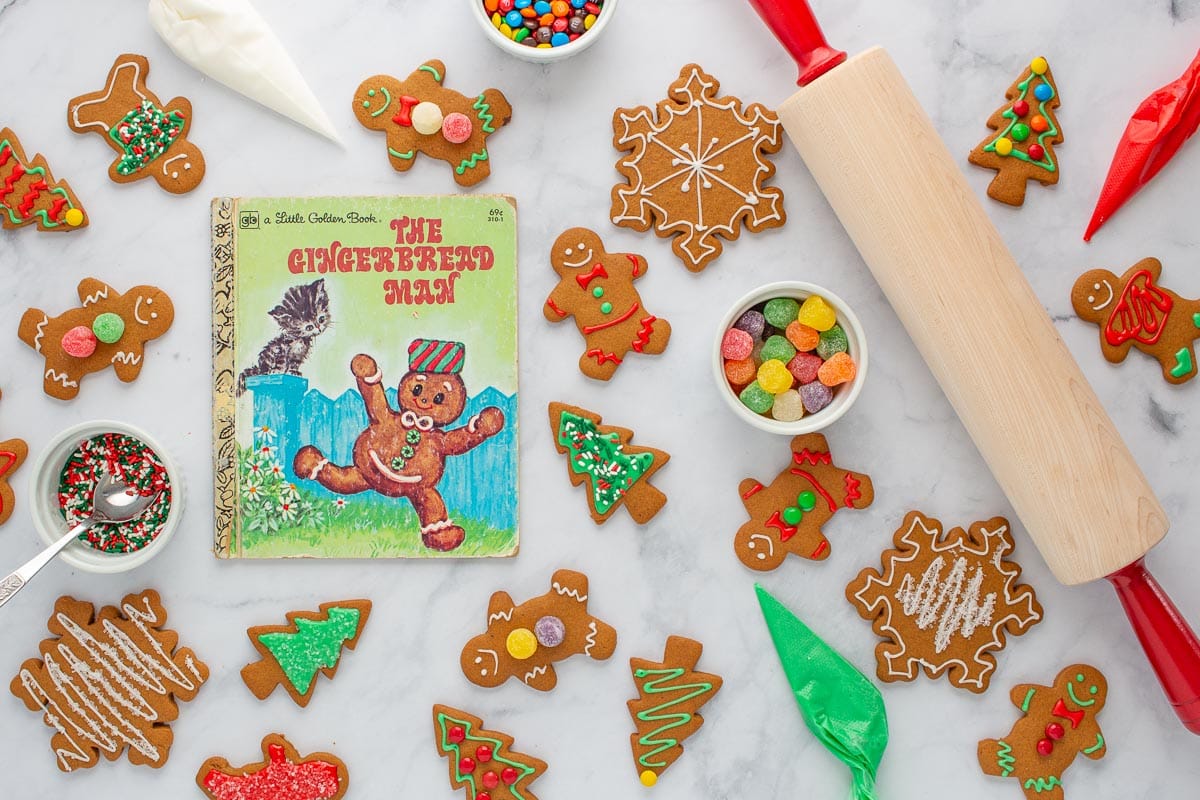
Growing up, our family Christmas cookie wasn't gingerbread, but a butter spritz cookie from my Nonny's recipe. Every year (still to this day), my mom pulls out the special cookie press, we choose a funny-looking disk that extrudes the cookie dough into a shape, inevitably put the disk in backwards, and eventually press out scores of buttery cookies. I love them—they are a pure Proustian taste of the holidays for me—but they are admittedly a little hard to decorate. A sprinkle of sanding sugar on their ridged surfaces is about all they'll hold onto. When I have the urge to really get creative with decorating during the holidays, only gingerbread will do.
About The Gingerbread Man

When I think of gingerbread, I of course think of the story of the gingerbread man—perhaps the most famous literary cookie of all time. I happened to grow up with this well-worn Little Golden Books edition of The Gingerbread Man from 1979, full of classic 70's-style illustrations. But the tale of the gingerbread man is much older—it first appeared in print in an 1875 issue of St. Nicholas Magazine, a periodical for young readers, where it was titled The Gingerbread Boy.
The story has been retold and re-imagined countless times, but generally follows a similar arc: A little old woman bakes a gingerbread cookie in the shape of a boy or a man, and it springs to life as it comes out of the oven. The gingerbread man runs away, and is chased by an ever-growing list of people and animals (a cumulative tale similar to The Little Red Hen). But no one can catch him until he runs into a sly fox. In the original telling, the nimble fox just snaps him right up, but in later versions, the fox first tricks the gingerbread man into getting close to him. The gingerbread man is forced get closer and closer to the fox's mouth, where he eventually meets his end, and we're all taught to be careful who we trust.
In the 150 years since The Gingerbread Boy was originally published, the gingerbread man has popped up everywhere in popular culture. The story has been adapted into plays and musicals, movies, cartoons, and lots and lots of books. Some of my favorite re-tellings for kids are The Gingerbread Man authored by Jim Aylesworth and illustrated by Barbara McClintock, another Little Golden Book edition in the Richard Scarry universe, and some irreverent and modern adaptations like The Gingerbread Man Loose at Christmas, The Gingerbread Girl, and The Ninjabread Man.
But no matter which version of the story you read, one thing is for certain: It will make you hungry for gingerbread cookies!
Recipe Inspiration

She gave him green-striped candy buttons and a smiling cherry mouth and a currant nose and shiny raisin eyes. Last of all, she gave him a striped candy hat. Then she popped him into the oven to bake.
The Gingerbread Man, uncredited author, Little Golden Books, 1979
In this version of the story, the little old woman decorates her cookies before baking. But in my experience, that just leads to leathery, dried out fruit and rock hard candy. I prefer to decorate gingerbread after it's been baked, so all of the toppings stay soft and vibrantly-colored.
But before I could think about decorating, I had to get my gingerbread base in order. My main criteria was for this recipe to be as simple as possible, leaving enough gas in the attention tank for younger bakers especially to make it to the decorating step. To me, that meant a dough that came together quickly in a bowl, rather than having to deal with a mixer. Using melted butter in the dough made it possible to simply whisk together the wet and dry ingredients, then stir everything together. Done! Molasses and a mix of warm spices gave the cookies their requisite bold gingerbread flavor, and using an egg yolk (rather than a whole egg) made it possible to scale down the dough to a manageable two trays worth of cookies.
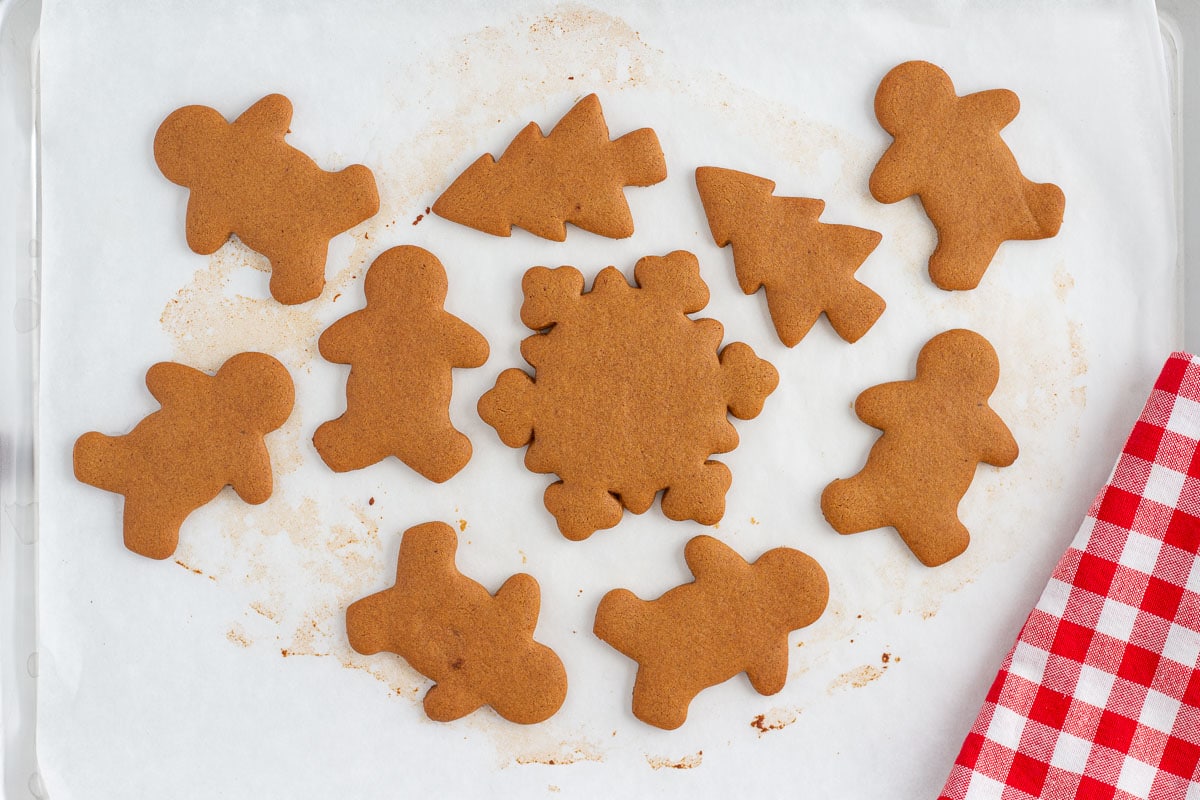
It was also critical to me that these cookies be super easy to roll out. There are few things I dislike more than trying to roll out a stubborn disk of solidly chilled dough that feels like a block of cement. Luckily, I knew from experience that as long as I slipped it between two sheets of parchment paper, it would be easy to roll out the soft dough to an even thickness before chilling it, and would be mess-free to boot. A ¼-inch thickness proved to be just right for offering cookies with crisp edges and soft and chewy interiors—the best of both worlds. Chilling the dough after rolling ensured the cookie cutters cut out the shapes cleanly, and that the cookies held their shape during baking without turning into blobs in the oven.
Once the cookies were cool, it was finally time to decorate! Royal icing is traditional for decorating gingerbread, but it's a bit fussy to make and calls for egg whites or meringue powder. A simple stir-together mix of powdered sugar and milk is a much more kid- and beginner-friendly icing to use, so that's what I opted for in this recipe. It can be made thicker for drawing crisp lines or thinner for easily smoothing into a glaze that covers the whole cookie (easier for the youngest bakers). You can whip up an array of colors by stirring a few drops of food coloring into each batch, and you can load the icing into a small piping bag, disposable zipper-lock bag, or a squeeze bottle to use for drawing lines.
Candies, dried fruit, nuts, sprinkles, and sanding sugar are all great to decorate with—just make sure to add them to the cookies when the icing is still wet so they'll stick. I chose to use mini M&M's and gumdrops for a classic look, but get creative with whatever is in your pantry! I like corralling all of my decorating supplies in ramekins, small bowls, or the wells of a muffin tin so everything is in easy reach. And while drawing clothes and accessories onto gingerbread people is fun, you can use any cookie cutter shape you like in this recipe and decorate it accordingly.

Ingredients You'll Need
To make these Easy Gingerbread Cookies, you'll need:
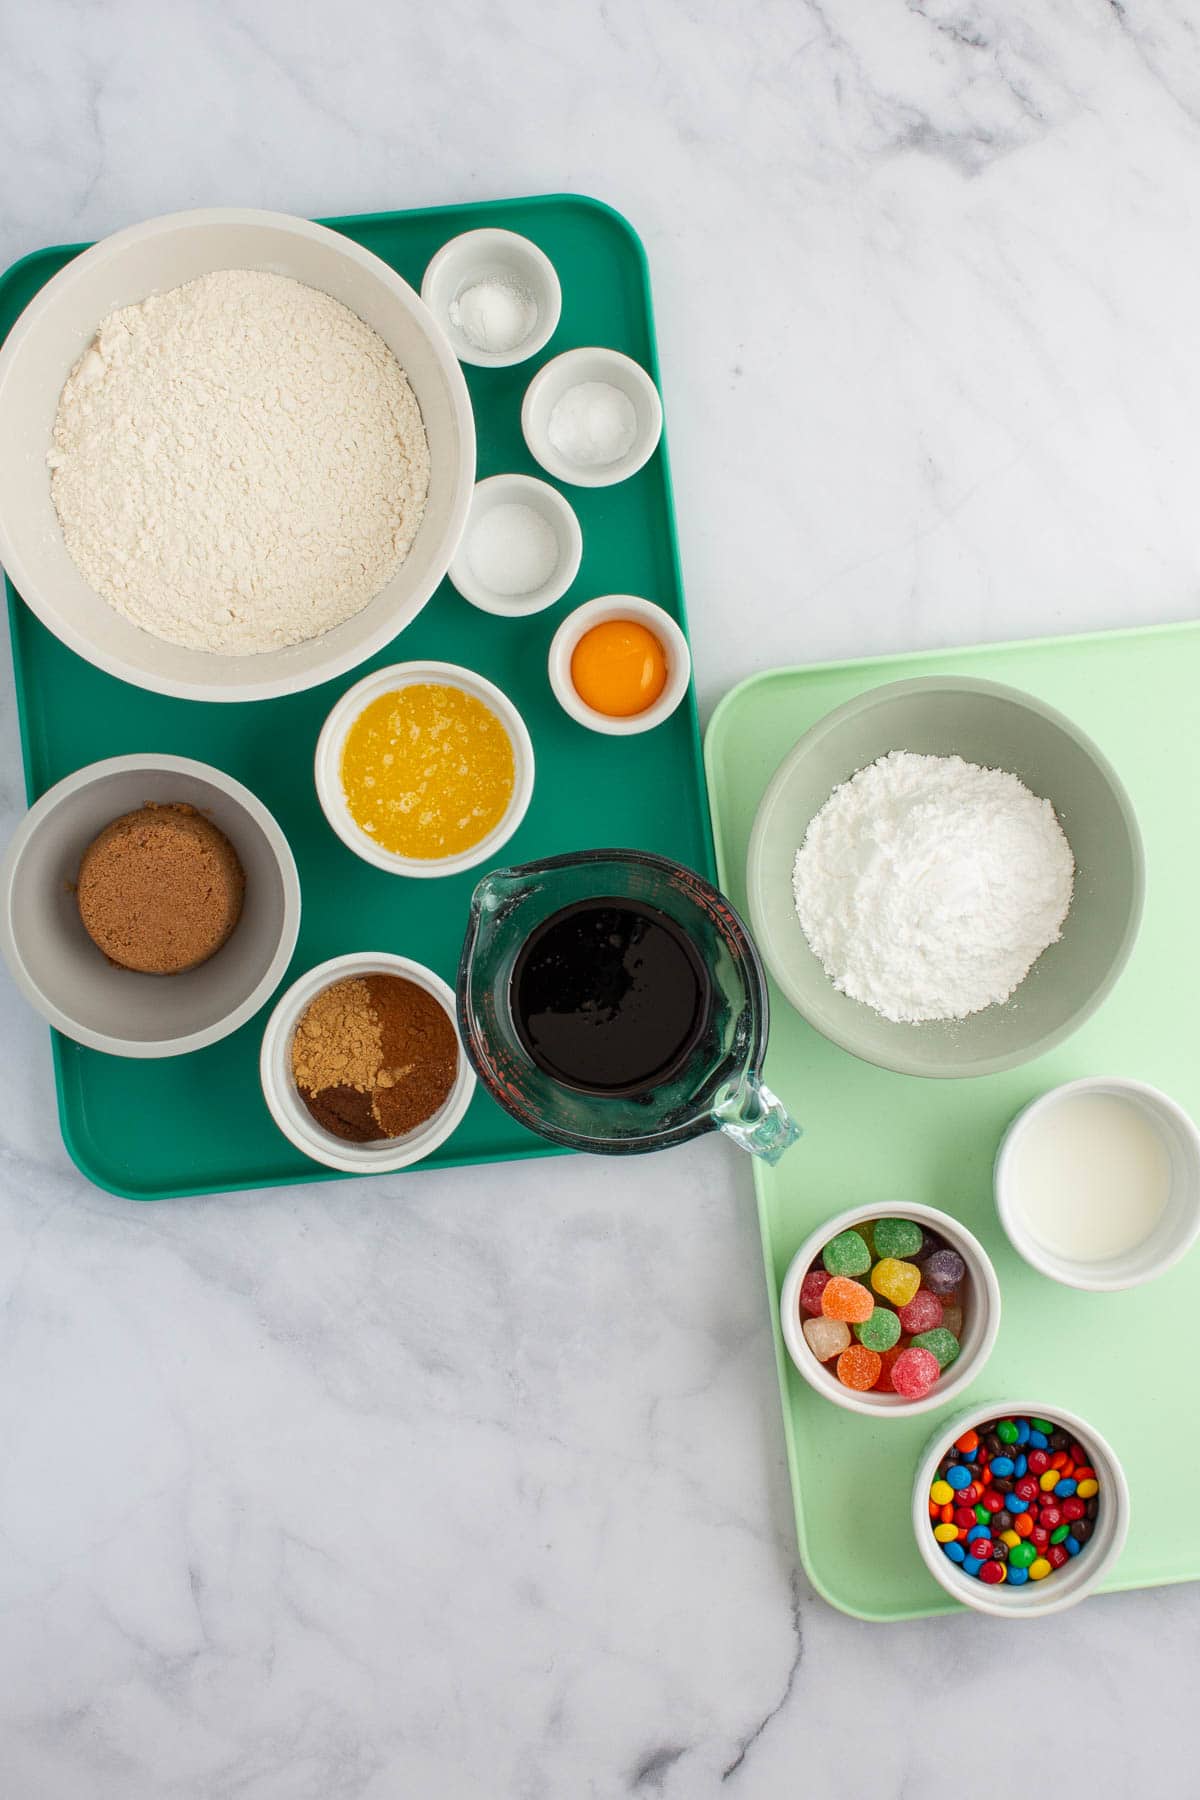
- All-purpose flour
- Baking powder and baking soda
- Table salt
- Melted unsalted butter: I like to melt butter in the microwave at 50% power, but you can also melt it on the stovetop.
- Brown sugar: You can use either light or dark.
- Molasses: Use a light, unsulphured variety, which may also be labeled "regular" or "mild," but don't use blackstrap molasses in this recipe. For more on the different types of molasses, check out this article I recently wrote for King Arthur Baking Company!
- An egg yolk: To easily separate an egg, crack it into a bowl, then gently scoop your fingers under the yolk. Lift up and shake gently to loosen the yolk away from the white. You can save the white to use for another purpose.
- Warm spices: This recipe uses a combination of ground cinnamon, ginger, allspice, and nutmeg for classic gingerbread flavor.
- Powdered sugar and milk for the icing: You may need to add a little more sugar or milk to get the icing to the consistency you want, so keep it at the ready while you're mixing the icing together.
- Decorating supplies: Food coloring for the icing, candies (mini M&M's, gumdrops, Red Hots, peppermints, or Smarties all work well), dried fruit (like raisins or currants), nuts, sprinkles, and/or sanding sugar are all great options. Or, enjoy your cookies simply with icing!
As with every recipe, before you start cooking, make sure to measure out and prepare your ingredients ahead of time. Then, you'll have everything you need when you need it! For all of the ingredient measurements and details, see the recipe card below.
How To Make Easy Gingerbread Cookies
The full recipe with detailed timing and instructions for these cookies is below, but here are some key moments to look out for along the way:
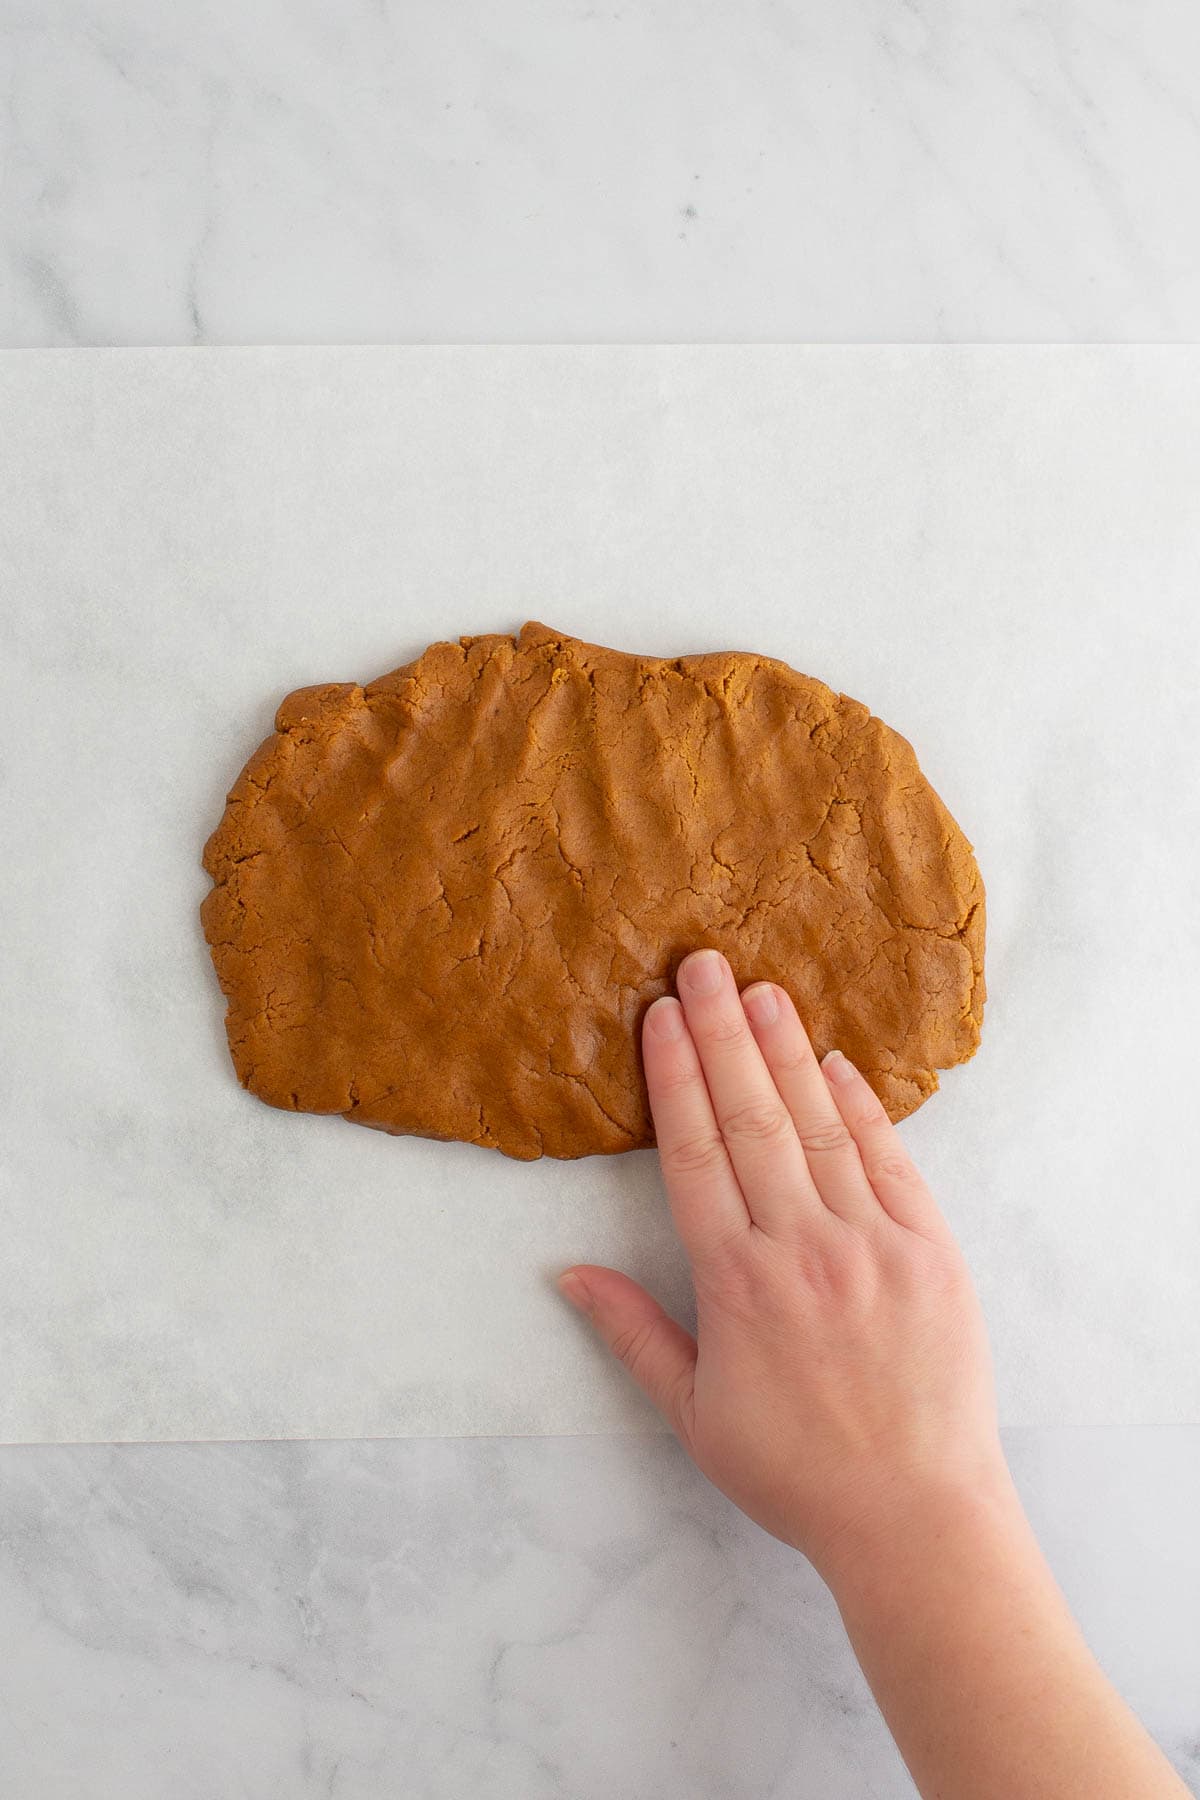
- Pat out the dough: After mixing the dough together in a bowl, pat it into an oval on a piece of parchment paper.
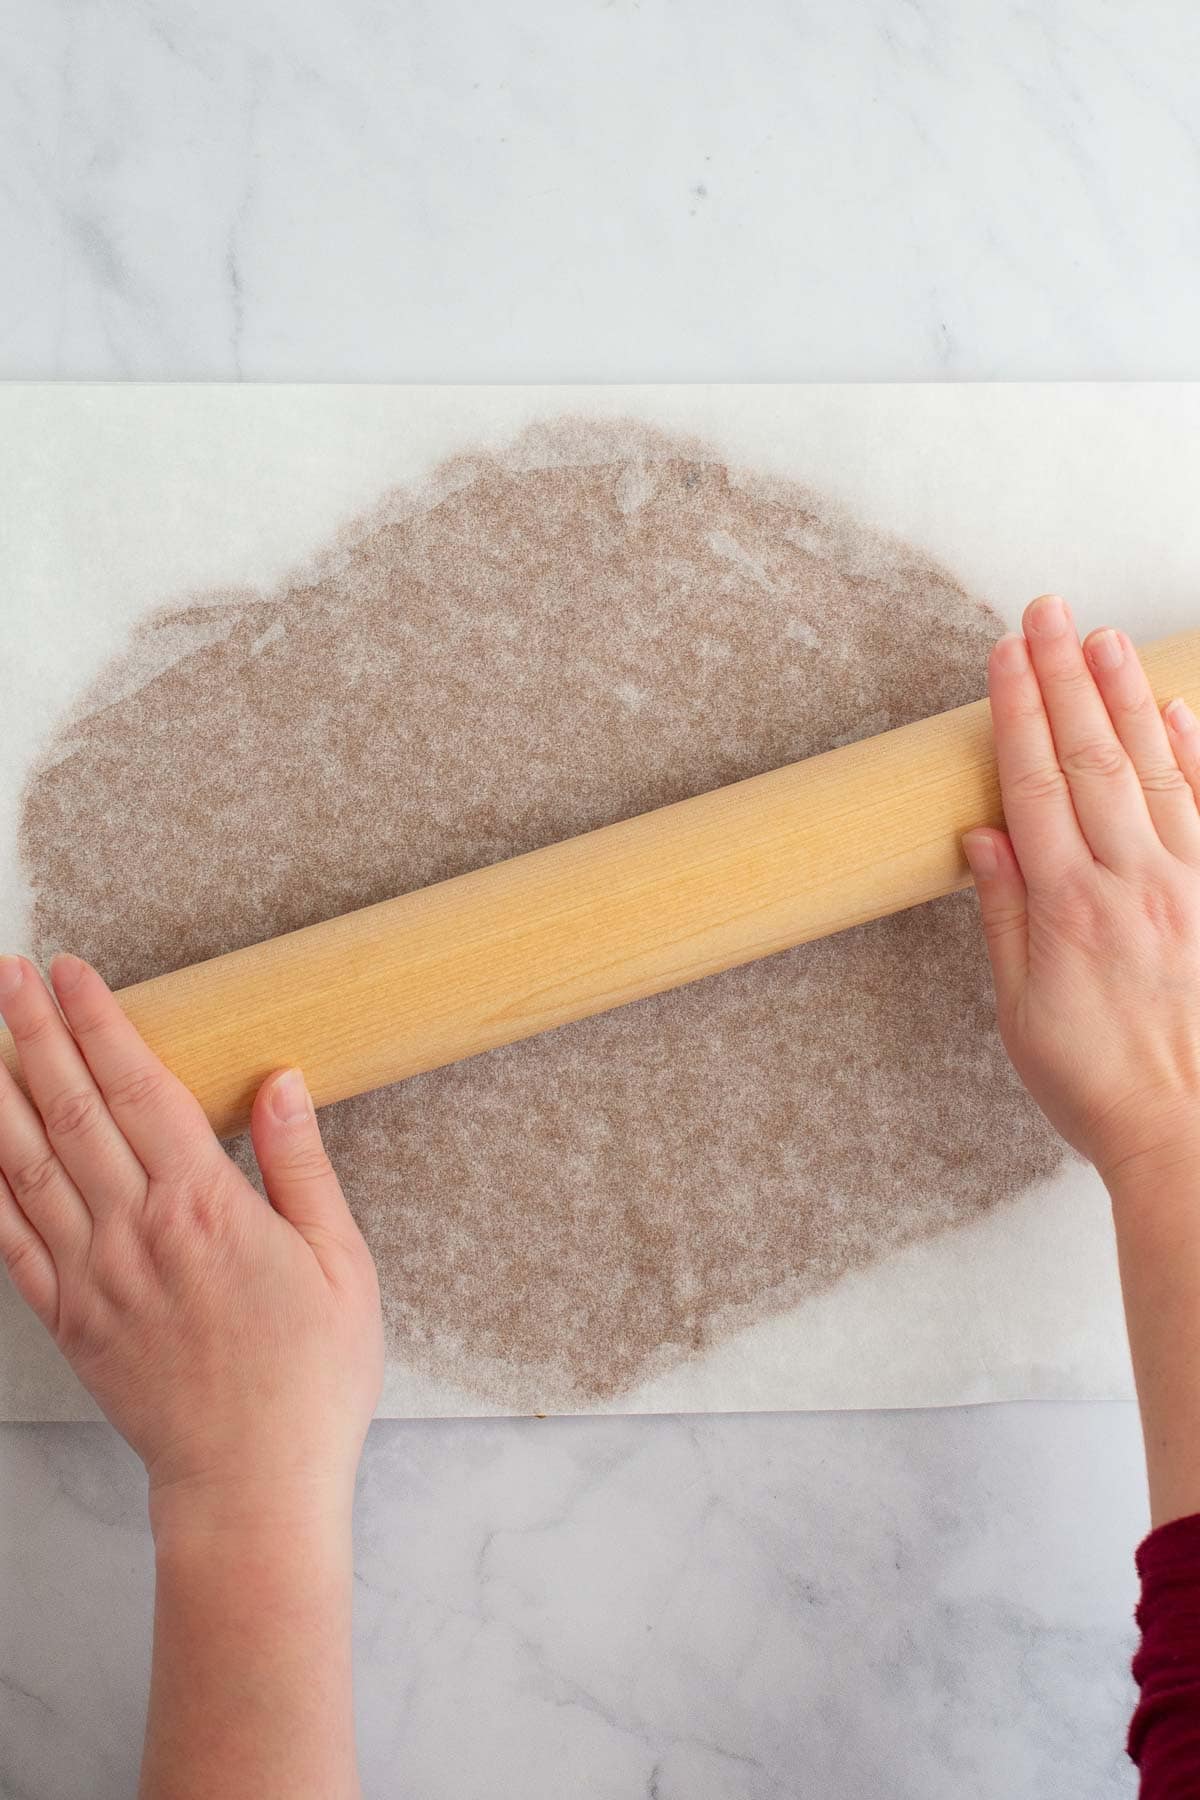
- Roll the dough: Place another piece of parchment paper on top and use a rolling pin to roll out the dough into an even ¼-inch-thick oval (or blob!).
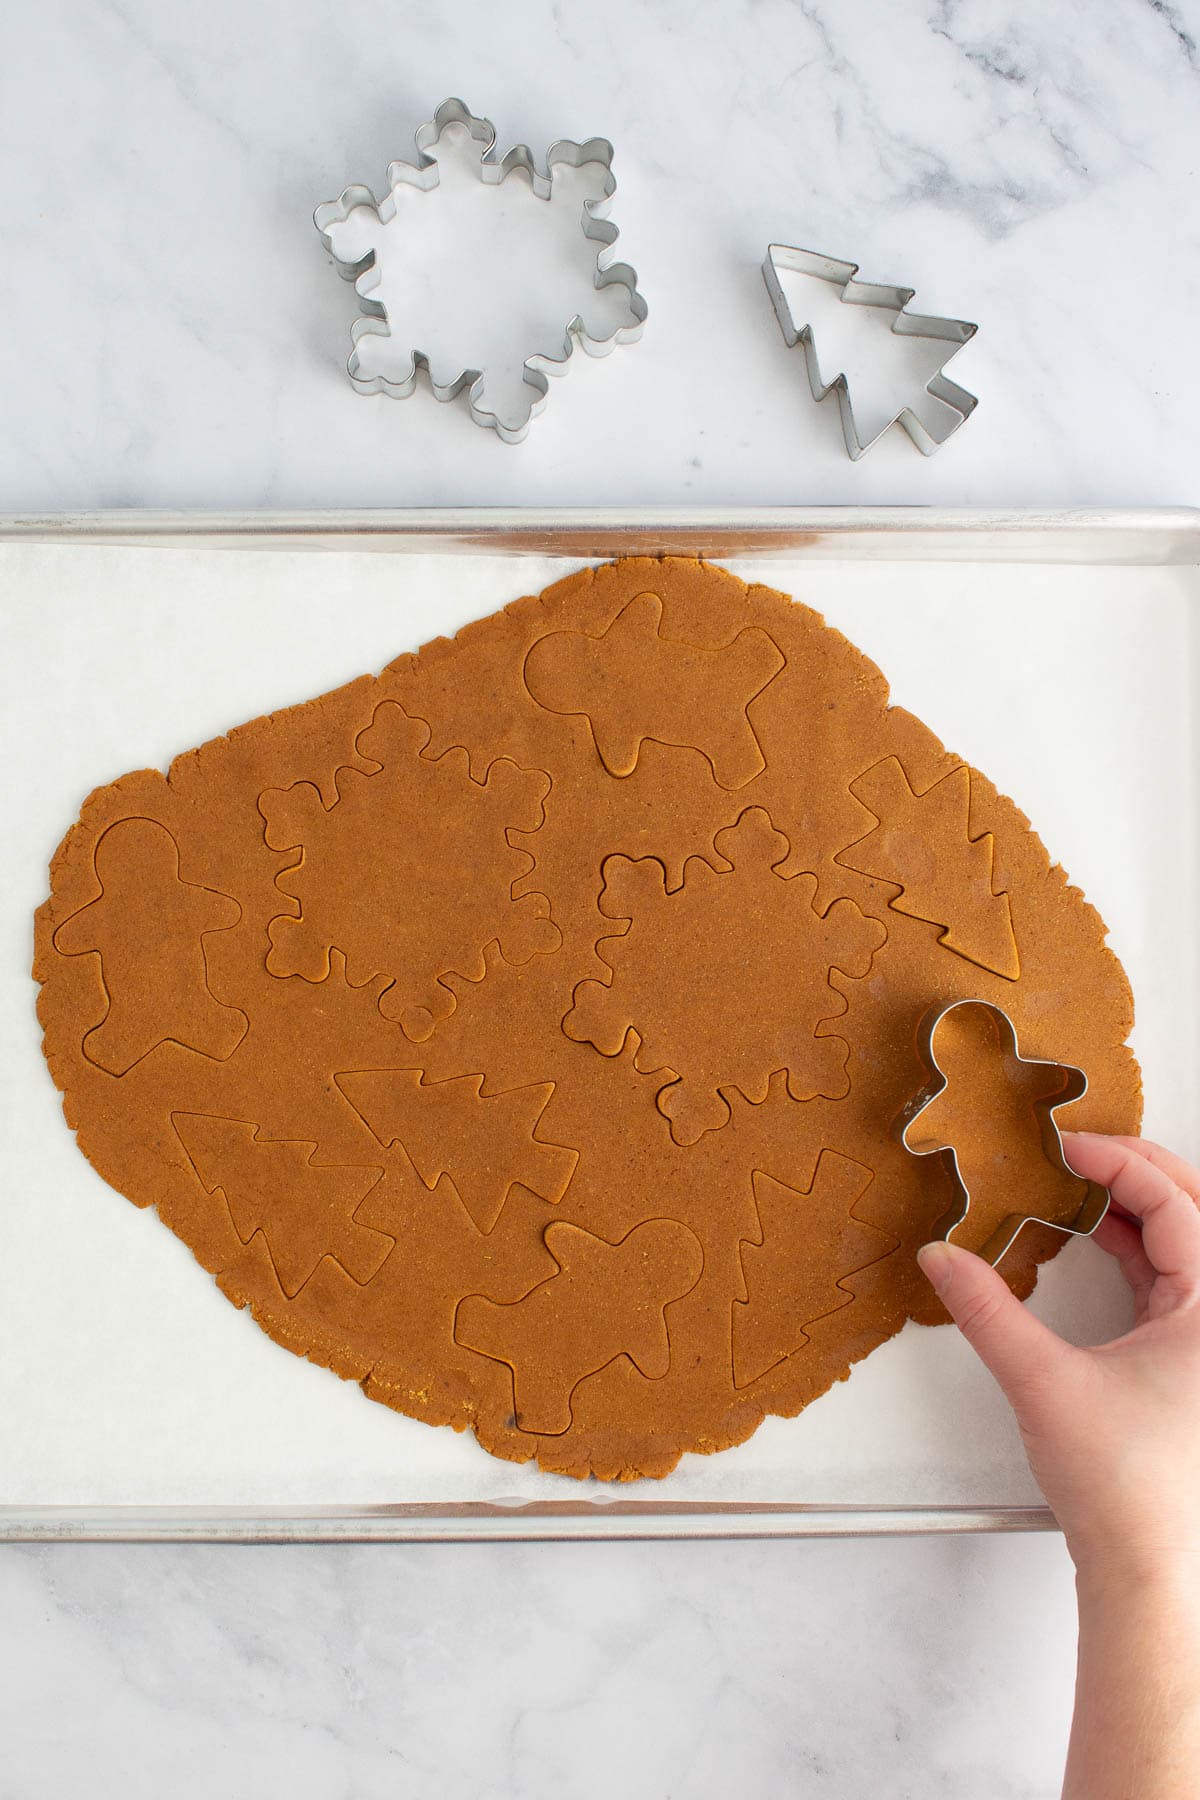
- Cut out the cookies: After chilling the dough until it's firm, use cookie cutters to cut out shapes from the dough, spacing them ½ inch apart.
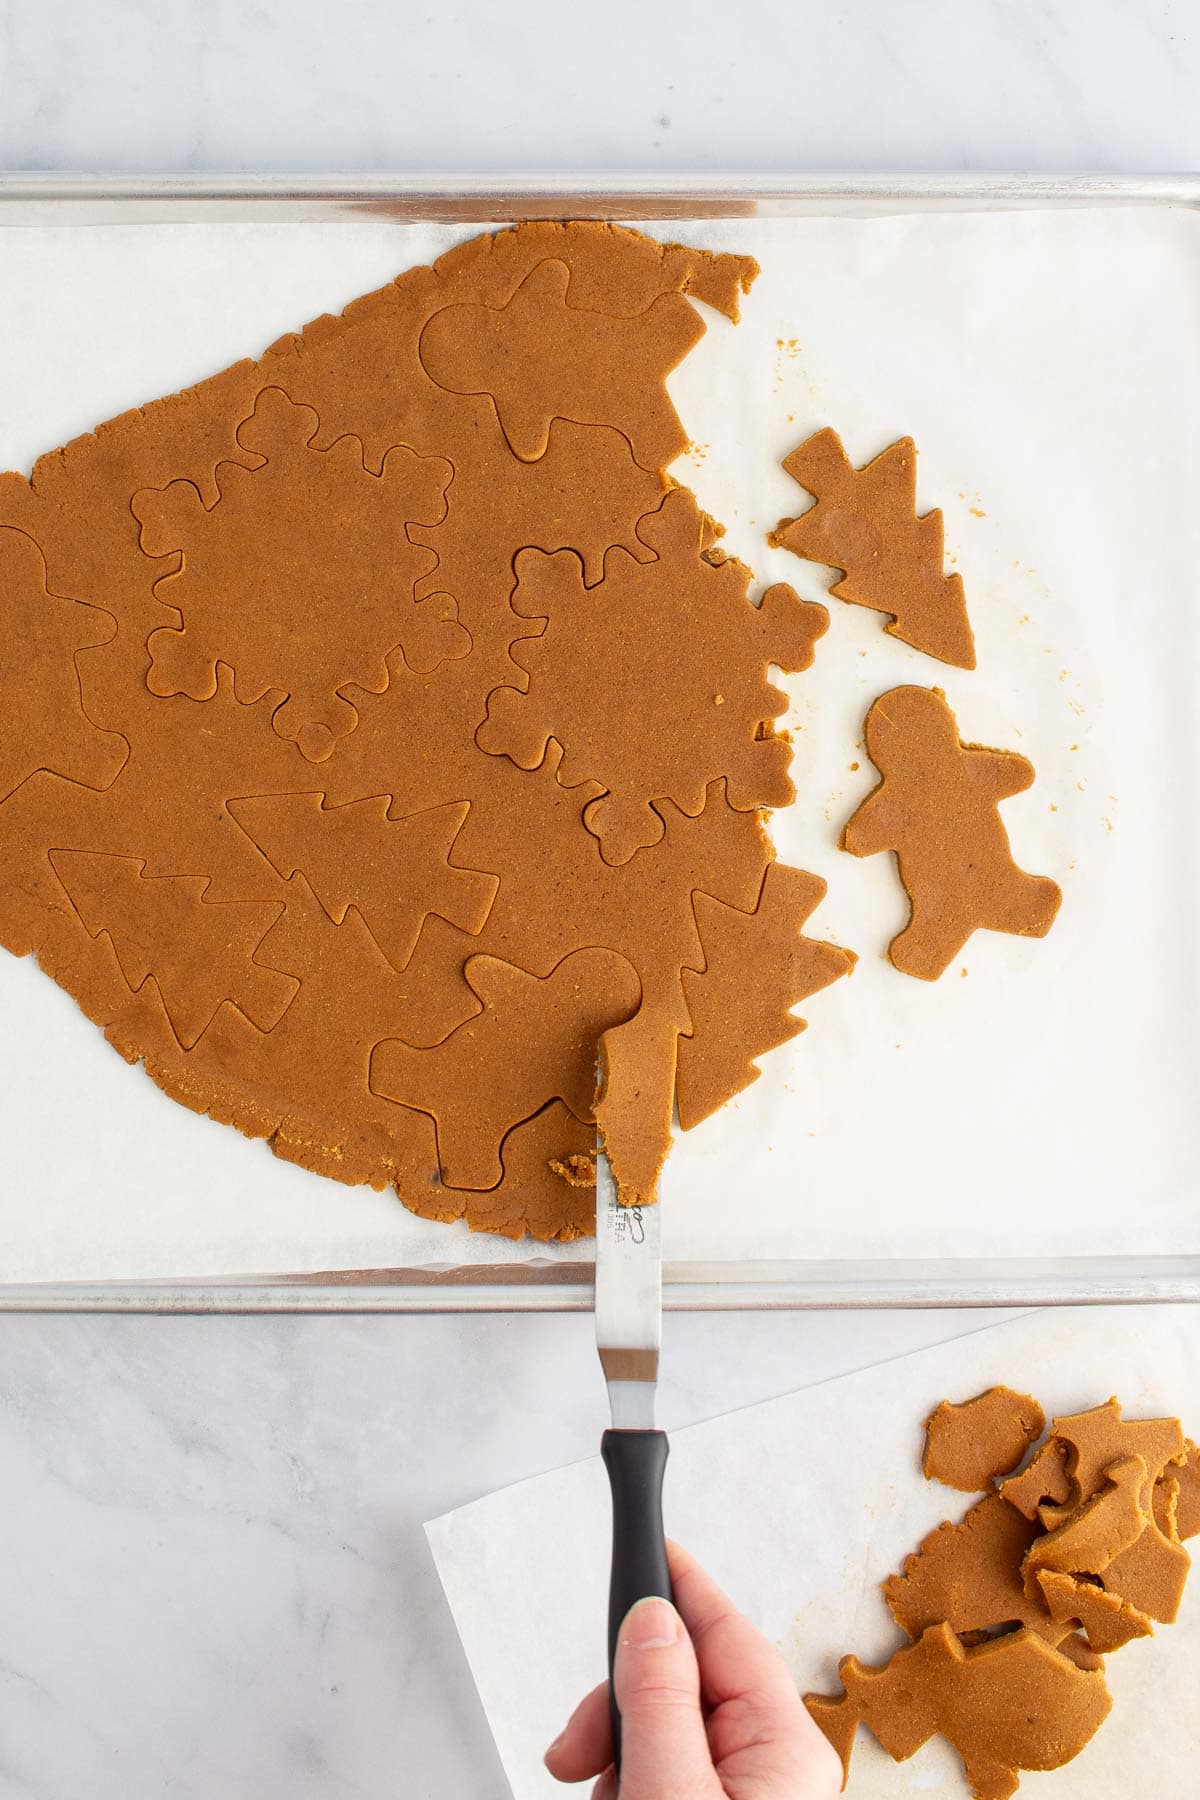
- Remove the scraps and bake: Use an offset spatula or butter knife to lift away the dough scraps from the cookies, saving the scraps to roll out again. Then, bake the cookies!
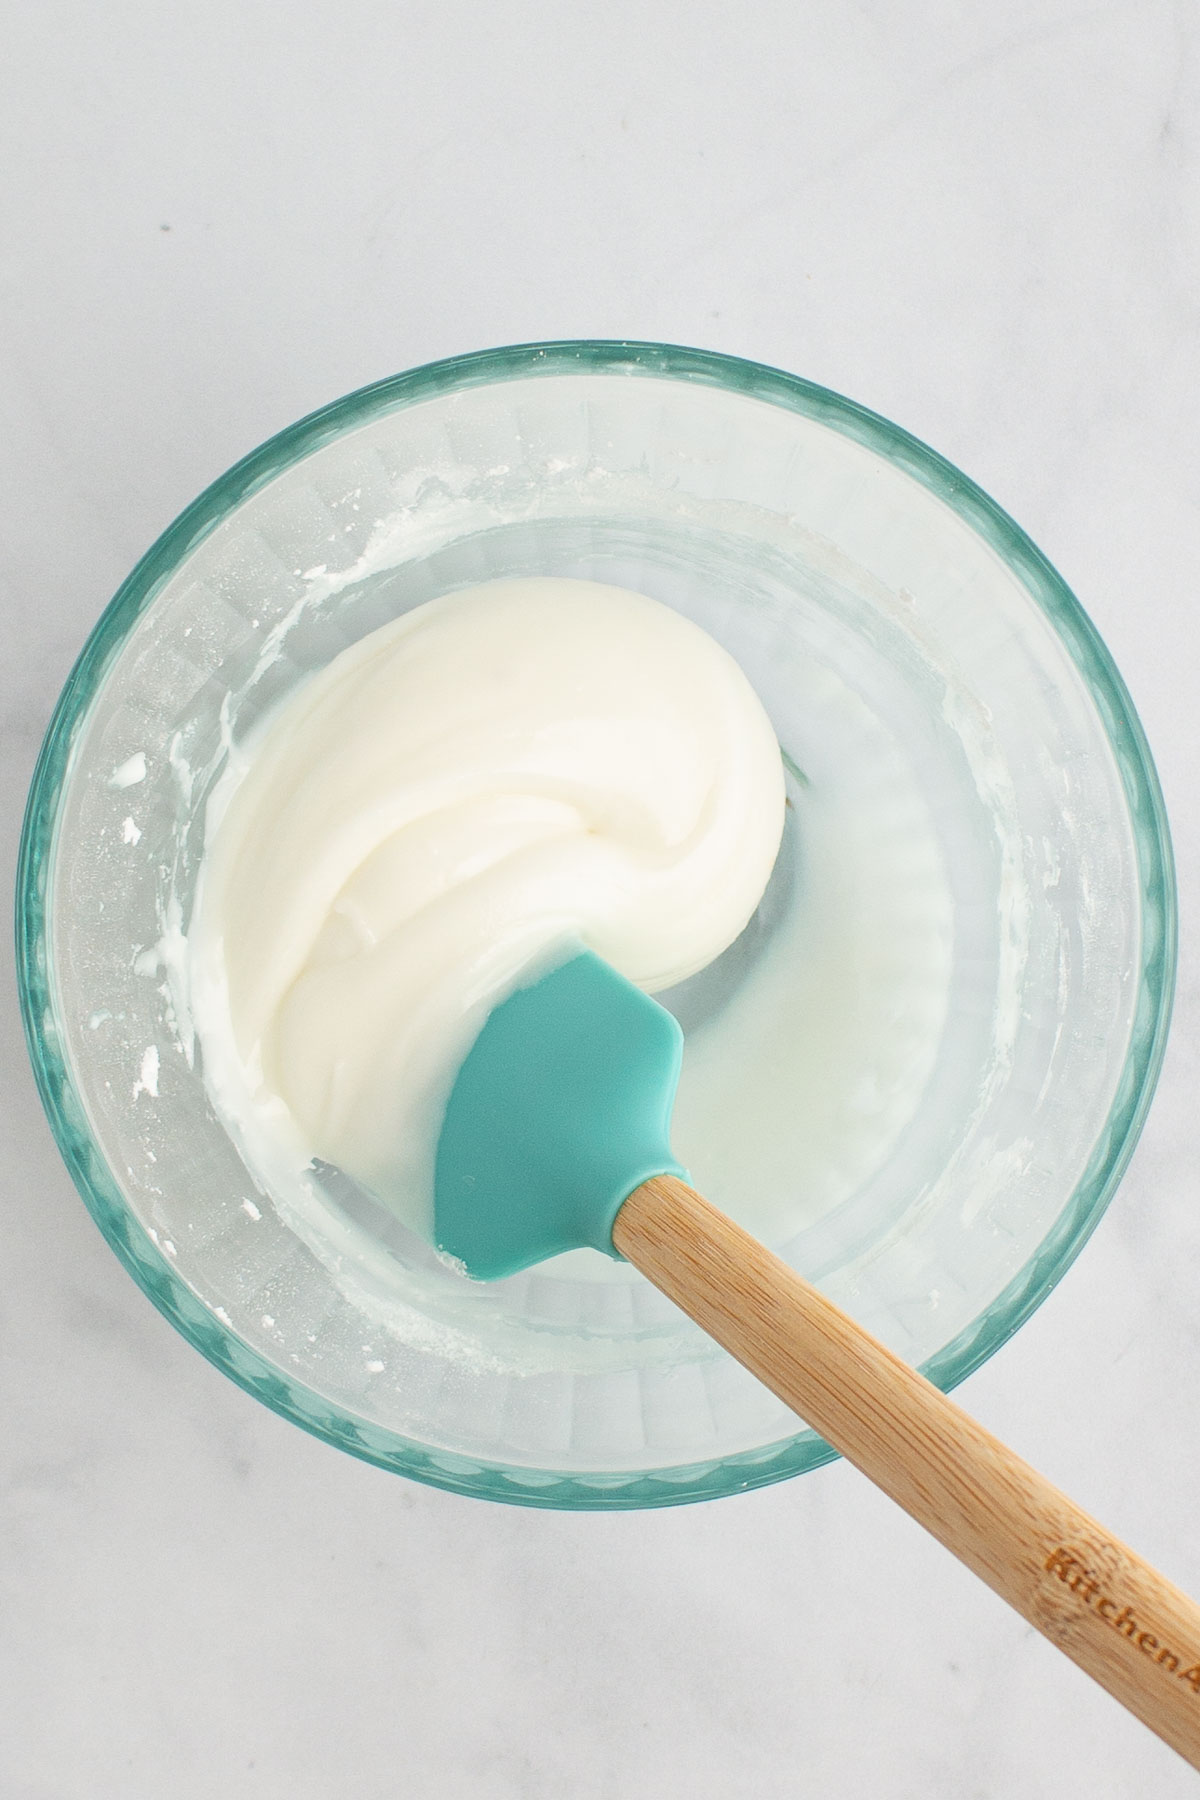
- Make the icing: While the cookies cool, mix together the powdered sugar and milk to make a thick icing.

- Decorate! Pipe or spread the icing onto the cooled cookies and add candies, sprinkles, and/or sanding sugar while the glaze is still wet.

Why This Recipe Is Great for Kids
I've spent years writing cookbooks and creating recipes that are safe, fun, and engaging for kids and home cooks of all ages. Here are some key features of this recipe that make it perfect for kids and families to make together at home:
- There's no need to use a mixer in this recipe—simply stir together your dough in a bowl and it's ready to roll!
- It's much easier for kids (and adults!) to roll the cookie dough before chilling it, rather than after. Rolling it between two pieces of parchment paper makes this simple and mess-free.
- Kids can choose any shape they like for their cookie cutters in this recipe, or mix and match. Dinos and robots instead of gingerbread people? Great! Whatever they choose, try to use cookie cutters of similar sizes for each batch so the cookies bake in a similar time frame.
- Decorating is fun for everyone! Kids can let their imaginations run wild and get creative with their combinations of colors and candies or sprinkles. Don't worry about making things look perfect—the cookies will be delicious no matter what!
Let's Cook!
Gather your equipment, measure your ingredients, and get cooking with this kid-friendly recipe! If you loved making it together, please leave five stars and share your stories in the comments.

Easy Gingerbread Cookies
Good To Know
- Use light, unsulphured molasses in this recipe, which may also be labeled “mild” or “regular.” Dark molasses can work in a pinch, but don’t use blackstrap molasses here. You can learn more about the different types of molasses in an article I wrote for King Arthur Baking Company.
- If you’d like to have a few different colors of icing to work with for decorating, make multiple batches of it in different bowls in step 1 of the decorating instructions. I like using these petite piping bags to pipe the glaze into neat lines and shapes, but you can also use a disposable zipper-lock bag or a squeeze bottle.
- For bakers just learning how to roll things evenly, a handy ¼-inch rolling pin or a pair of dough sticks will help keep your rolling pin exactly ¼-inch above your work surface.
Equipment You'll Need
- 3 Bowls (1 large, 1 medium, 1 small)
- Whisk
- Rubber spatula
- Parchment paper
- Ruler (optional)
- Rolling Pin
- Cookie cutters
- Small offset spatula or butter knife
- Oven mitts
- Cooling rack
- Small piping bag or disposable zipper-lock bag (optional)
- Scissors (optional)
Measure Your Ingredients
For the cookies:
- 1 ¾ cups (8 ¾ ounces) all-purpose flour
- ½ teaspoon baking powder
- ¼ teaspoon baking soda
- ½ teaspoon table salt
- 6 tablespoons unsalted butter, melted and cooled
- ⅓ cup packed (2 ⅓ ounces) dark brown sugar
- ⅓ cup light molasses (see note)
- 1 large egg yolk
- 1 teaspoon ground cinnamon
- 1 teaspoon ground ginger
- ¼ teaspoon ground allspice
- ⅛ teaspoon ground nutmeg
To decorate:
- ¾ cup (3 ounces) powdered sugar, more as needed
- 1 tablespoon milk, more as needed
- Food coloring (optional)
- Candies, sprinkles, sanding sugar, dried fruit, and/or nuts (optional)
Let's Cook!
Make the cookies:
- 1 ¾ cups (8 ¾ ounces) all-purpose flour, ½ teaspoon baking powder, ¼ teaspoon baking soda, ½ teaspoon table salt, 6 tablespoons unsalted butter, melted and cooled, ⅓ cup packed (2 ⅓ ounces) dark brown sugar, ⅓ cup light molasses, 1 large egg yolk, 1 teaspoon ground cinnamon, 1 teaspoon ground ginger, ¼ teaspoon ground allspice, ⅛ teaspoon ground nutmegIn a medium bowl, whisk together the flour, baking powder, baking soda, and salt. In a large bowl, whisk the melted butter, brown sugar, molasses, egg yolk, and spices until well combined and smooth.
- Add the flour mixture to the butter mixture and stir with a rubber spatula until no dry flour remains and a soft dough forms (make sure to scrape along the bottom and sides of the bowl to get all of the dry flour). Use your hands to gather the dough together and mush it into a cohesive ball in the bowl.
- Lay a large sheet of parchment paper on the counter. Transfer the dough to the center of the sheet and press it into an oval that’s about 8 inches wide.
- Lay a second large sheet of parchment paper on top of the dough. Use a rolling pin to roll the dough between the parchment paper into an oval (or blob shape, it doesn’t matter!) that’s ¼-inch thick and about 12 inches wide.
- Slide the dough, still between the parchment, onto a rimmed baking sheet. Transfer the baking sheet to the refrigerator and chill until firm, at least 30 minutes and up to 1 day. (The longer you chill it, the more cleanly the cookies will cut out.)
- When you’re ready to bake, set your oven rack to the middle position and heat the oven to 375°F.
- Remove the baking sheet from the refrigerator and peel off the top sheet of parchment, saving it for later. Use cookie cutters to cut out shapes from the dough, leaving about ½-inch of space in between them and leaving the dough on the parchment paper.
- Use a small offset spatula or butter knife to gently loosen the scraps of dough around the cookies. Peel away the scraps and set them aside on a clean counter. If needed, use the spatula to gently rearrange the cookies so there’s at least a ½-inch of space in between them. (If the dough gets too warm and squishy to work with at any point, pop it back in the fridge for 10 to 15 minutes to firm up.)
- Place the baking sheet in the preheated oven. Bake until the edges of the cookies are set and the centers are a little soft and puffy, 8 to 10 minutes.
- While the first batch of cookies is baking, on a clean counter, squish and knead the dough scraps together into a ball. Lay the sheet of parchment you saved from earlier on the counter and transfer the dough to the center. Use your hands to press the dough into a circle.
- Lay a fresh sheet of parchment paper on top of the dough and roll it to ¼-inch thickness. Repeat cutting the dough into cookies, discarding the dough scraps, and spacing out the cookies as needed. Slide the parchment paper with the second batch of cookies onto a second rimmed baking sheet.
- When the first batch of cookies is ready, use oven mitts to remove the baking sheet from the oven and place it on the stovetop or a cooling rack. Let the cookies cool on the baking sheet and cool them completely, at least 30 minutes. Meanwhile, repeat baking and cooling with the second batch of cookies.
Decorate!
- ¾ cup (3 ounces) powdered sugar, more as needed, 1 tablespoon milk, more as needed, Food coloringWhen your cookies are fully cooled, in a small bowl, use a clean rubber spatula to stir together the powdered sugar and milk until smooth. It should be very thick, almost like cake frosting; if it’s too runny, add some more powdered sugar, and if it’s too dry, add a few more drops of milk. Add food coloring to tint your icing, if desired.
- Candies, sprinkles, sanding sugar, dried fruit, and/or nutsUse a small offset spatula or a spoon to spread the icing onto the cookies, or transfer the icing to a small piping bag or plastic zipper-lock bag. Use scissors to snip the tiniest bit of the corner off of the bag, then gently squeeze the bag from the top to pipe the icing onto the cookies in whatever designs you like. Sprinkle the icing with sanding sugar or sprinkles or press candies, fruit, or nuts into the icing while it’s still wet. (I like decorating the cookies while they’re still on the parchment paper for easy cleanup.)
- When you’re done decorating, let the cookies sit until the icing sets, at least 15 minutes. Serve before they run away!
Conversation Starters
While your cookies bake and cool, talk about what it was like to make the recipe and the themes in The Gingerbread Man. You can help young readers make connections to the book and share your own answers, ideas, and stories with them with the following prompts:
- How would you feel if your cookies came to life? What would you do?
- Why do you think the gingerbread man was running away? Where do you imagine he was going?
- Does your family make cookies during the holidays? What are some of your favorite holiday traditions, and why?



Abigail M. says
I threw this dough together to make cookies with a friend's 4 kids ranging in age from 9-2 years old. The dough came together quickly and easily, as advertised! I rolled the dough out into four separate pieces to let each kid cut their own cookies as desired (we used tiny cookie cutters), and then I used King Arthur Flour Royal Icing Mix to make a little bowl of icing for each baker to decorate their cookies. It was a perfect afternoon distraction in the middle of a long week of school vacation, and the cookies were delicious. I would absolutely make them again for myself, especially since rolling out the dough before chilling made it all so fast and eliminated a lot of the mess.