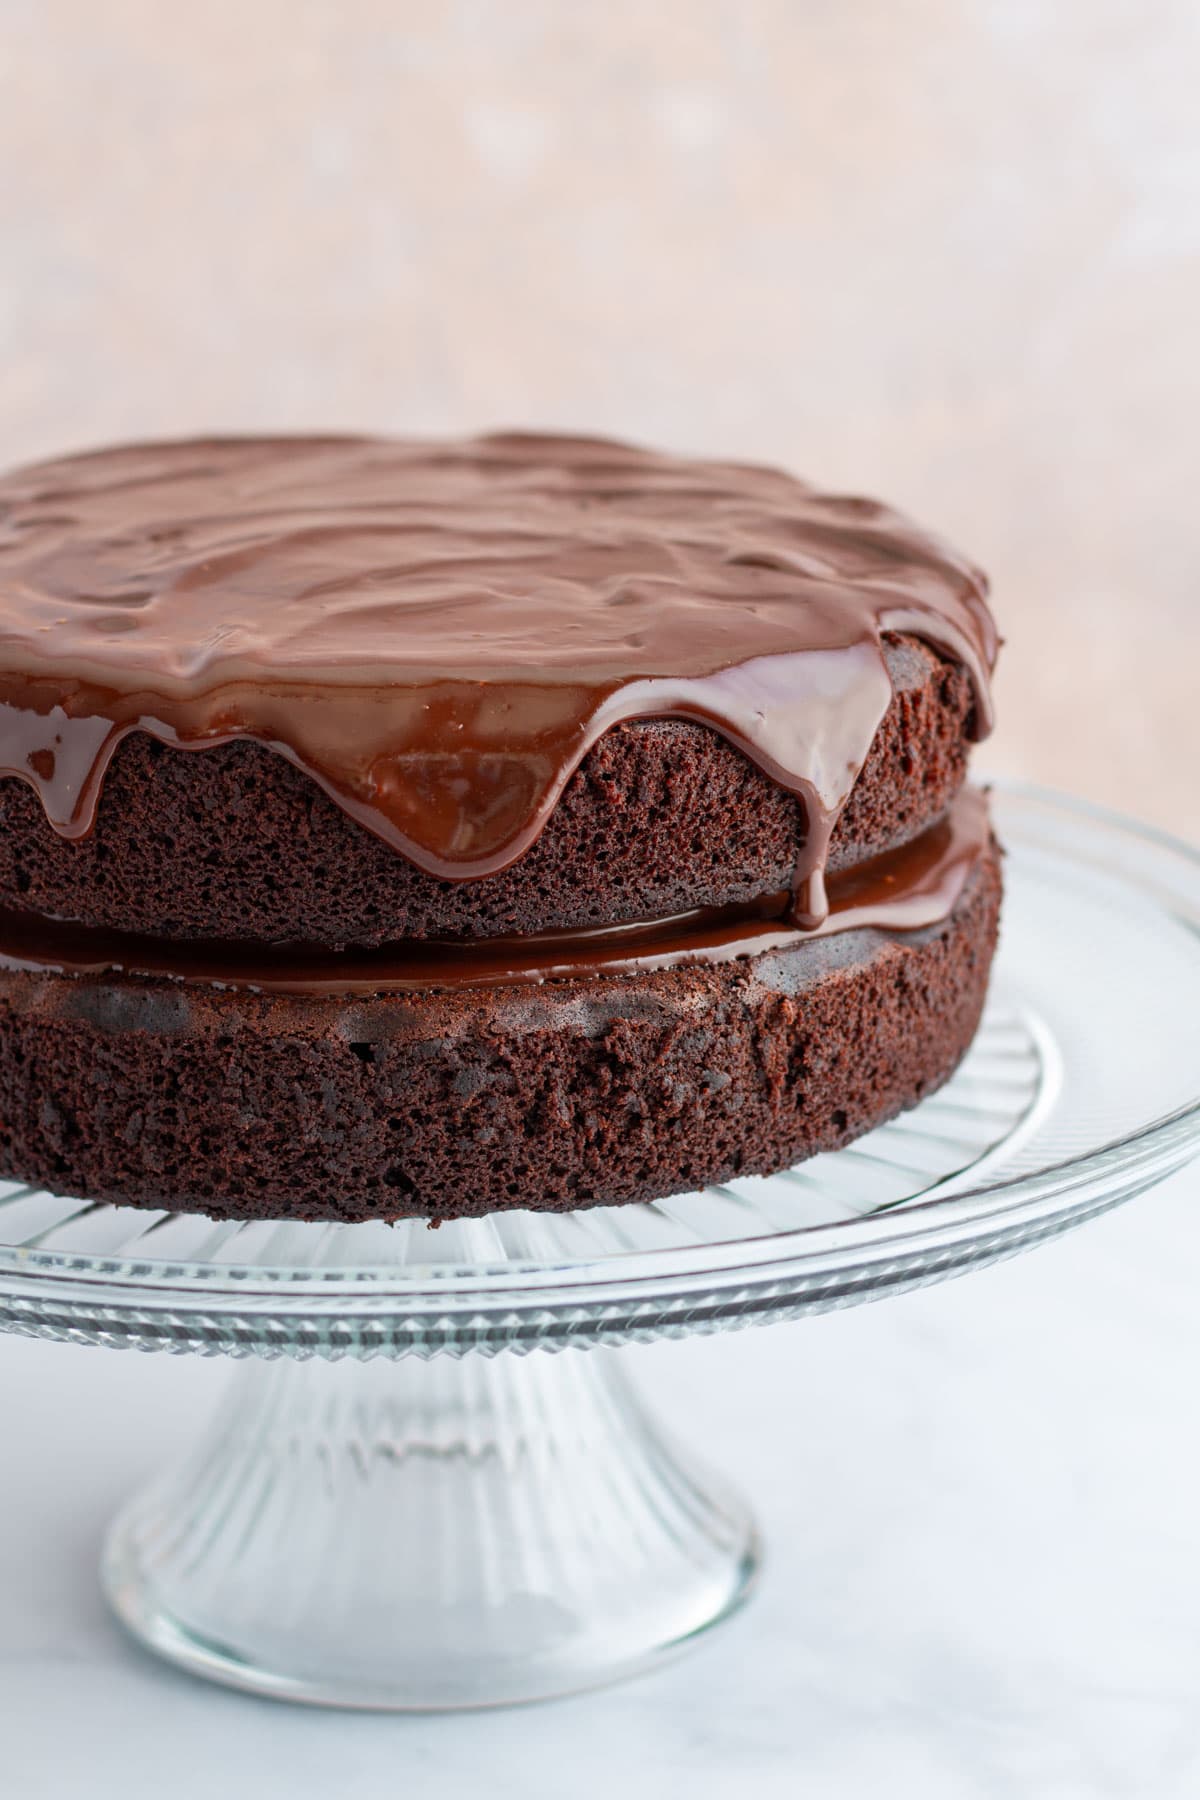
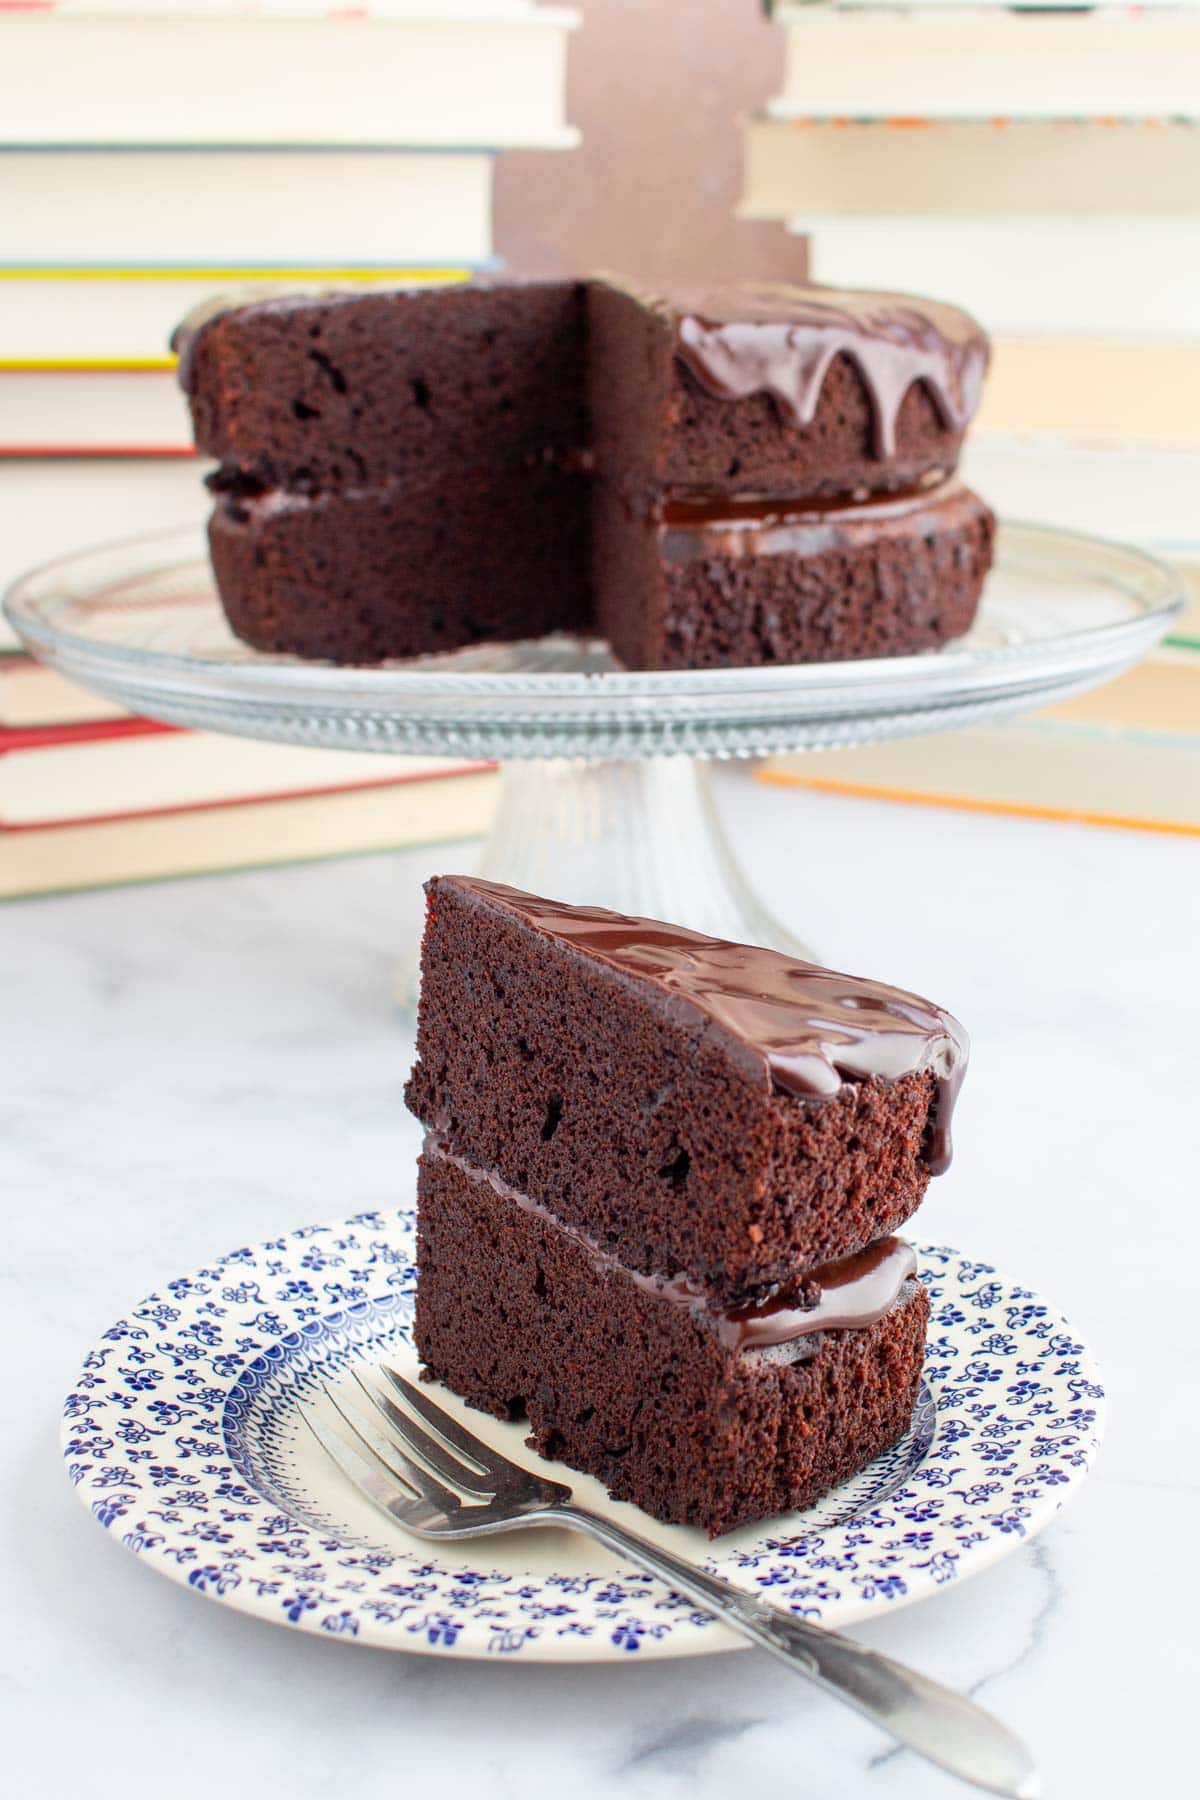
This fudgy, rich, decadent Chocolate Ganache Cake inspired by Roald Dahl's book Matilda is a true showstopper, but secretly simple to make. You’ll want to eat it all by yourself in one sitting!
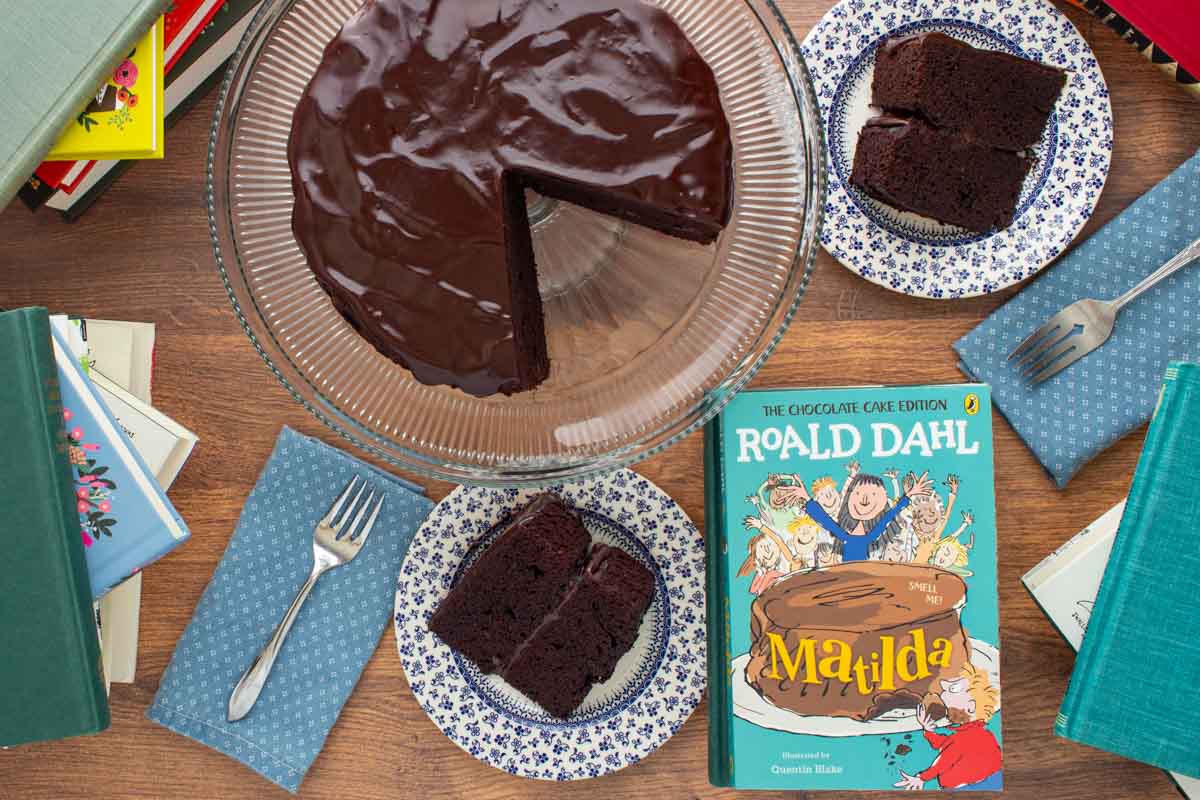
The world of Roald Dahl is a strange one, filled with fantastical and darkly funny stories that are tinged with the macabre. Dahl manages to capture the joys, horrors, injustices, and triumphs of childhood unlike any other author. Luckily for me, his stories are often also filled with incredible food, whether real or imagined. And one of the most-requested food moments for The Reader's Kitchen yet happens in the beloved classic Matilida.
About Matilda
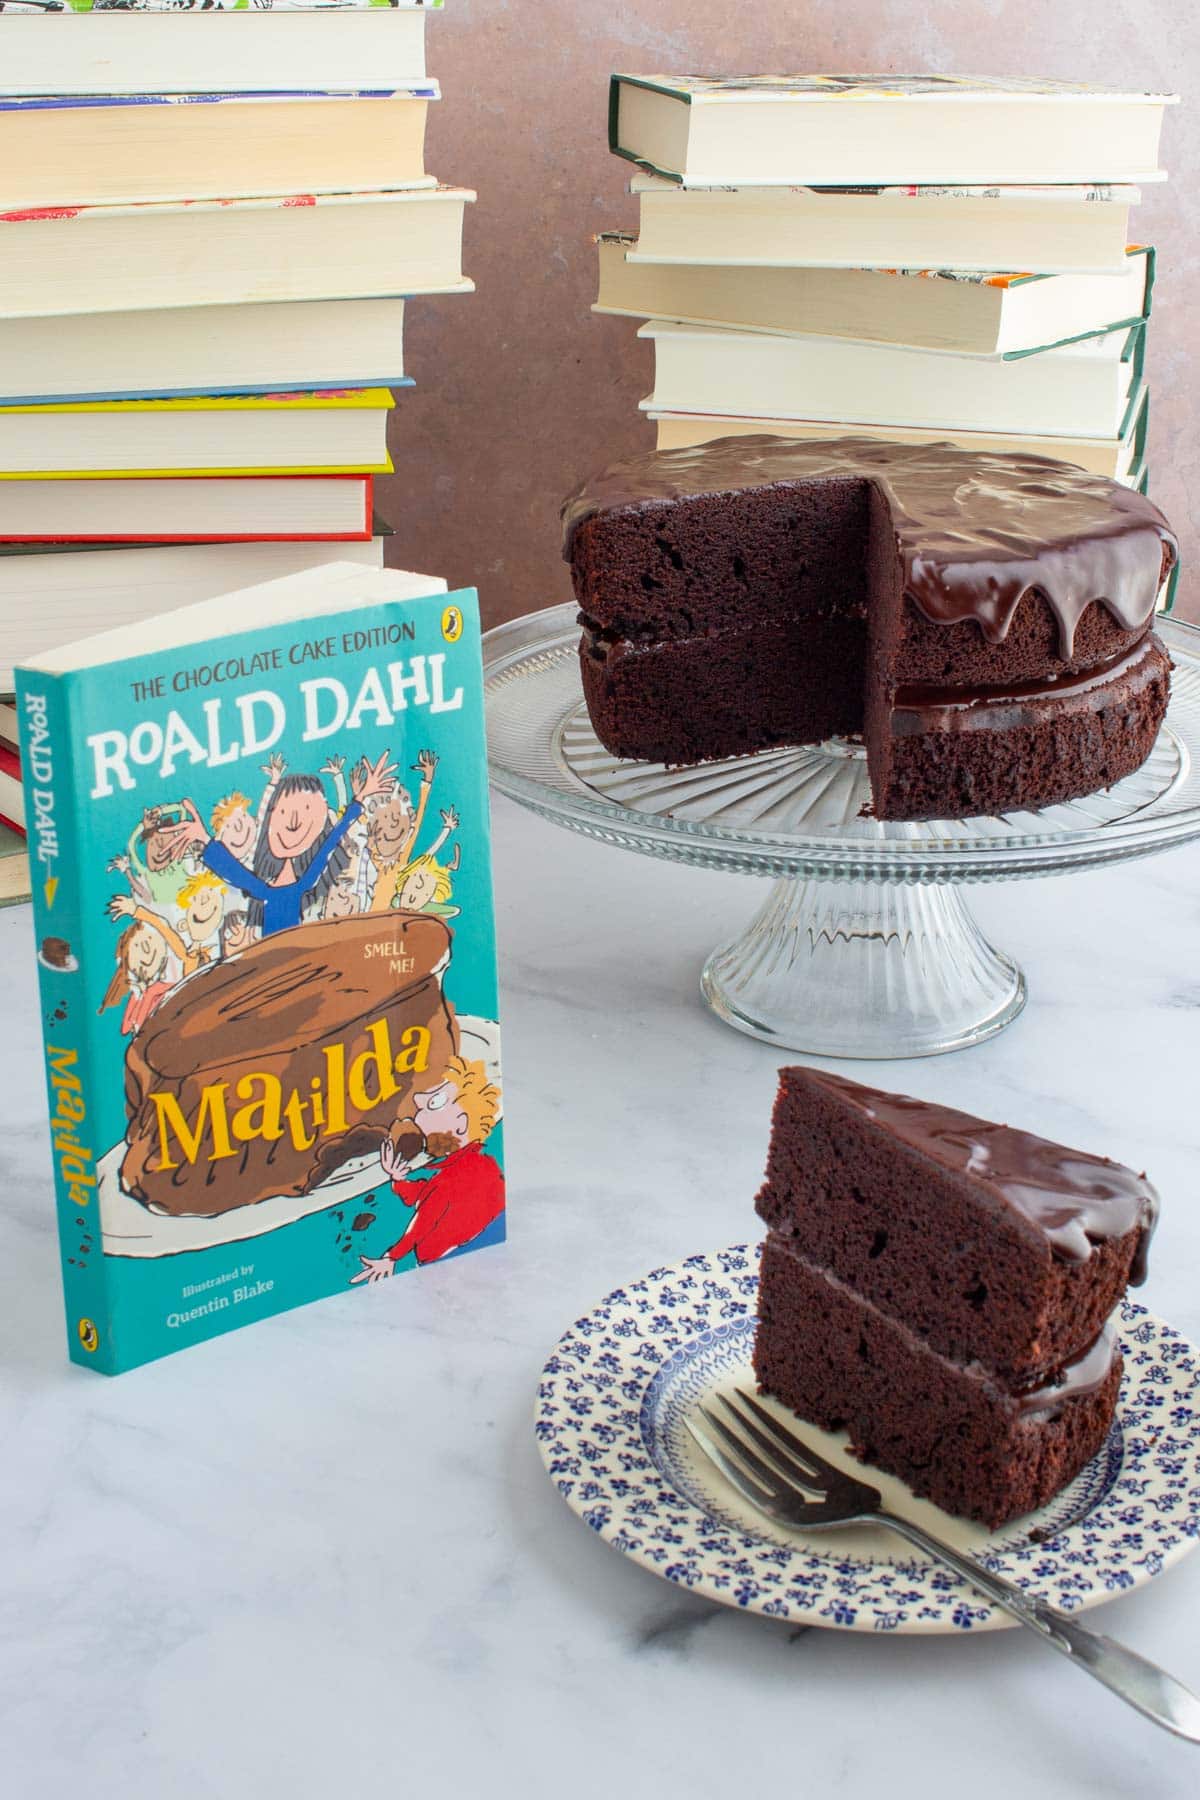
Roald Dahl (1916-1990) published Matilda in 1988. It was one of the last books in his long career writing novels for children that include James and the Giant Peach (1961), Charlie and the Chocolate Factory (1964), Fantastic Mr. Fox (1970), and The BFG (1982). Quentin Blake contributed the charming illustrations (as he did for many of Dahl's other books) in his distinctive loose and whimsical style. School Library Journal ranked Matilda number 30 on a list of the top 100 children's novels of all time, and the story was adapted into a feature film in 1996 and a Tony award-winning Broadway musical in 2022.
In the story, Matilda Wormwood is a precocious child who is neglected by her oblivious and uncaring parents. She turns to books for solace, and becomes a voracious reader with gifted intelligence. When she enters school, Matilda is nurtured by a caring teacher, Miss Honey (my personal hero, we stan a legend), but is horrified by the actions of the tyrannical headmistress, Miss Trunchbull. Matilda uses some unexpected and extraordinary powers to defeat the Trunchbull once and for all, achieving justice not only for herself, but also for Miss Honey and all of the other children at the school.
It's important to note here that while his books are adored by children and adults alike, in large part due to the heroism of his child protagonists, Roald Dahl's legacy is not without controversy. Dahl’s books include depictions of upsetting behavior and unfortunate stereotypes stemming from Dahl's personally held prejudices. Puffin Books released updated editions of his works in 2022 that take out insensitive language and problematic depictions of characters, while also maintaining a "classic collection" of the books as originally written. As with many other forms of art and artists, consider how you'd like to navigate this conversation with your kids before diving into the stories.
Recipe Inspiration
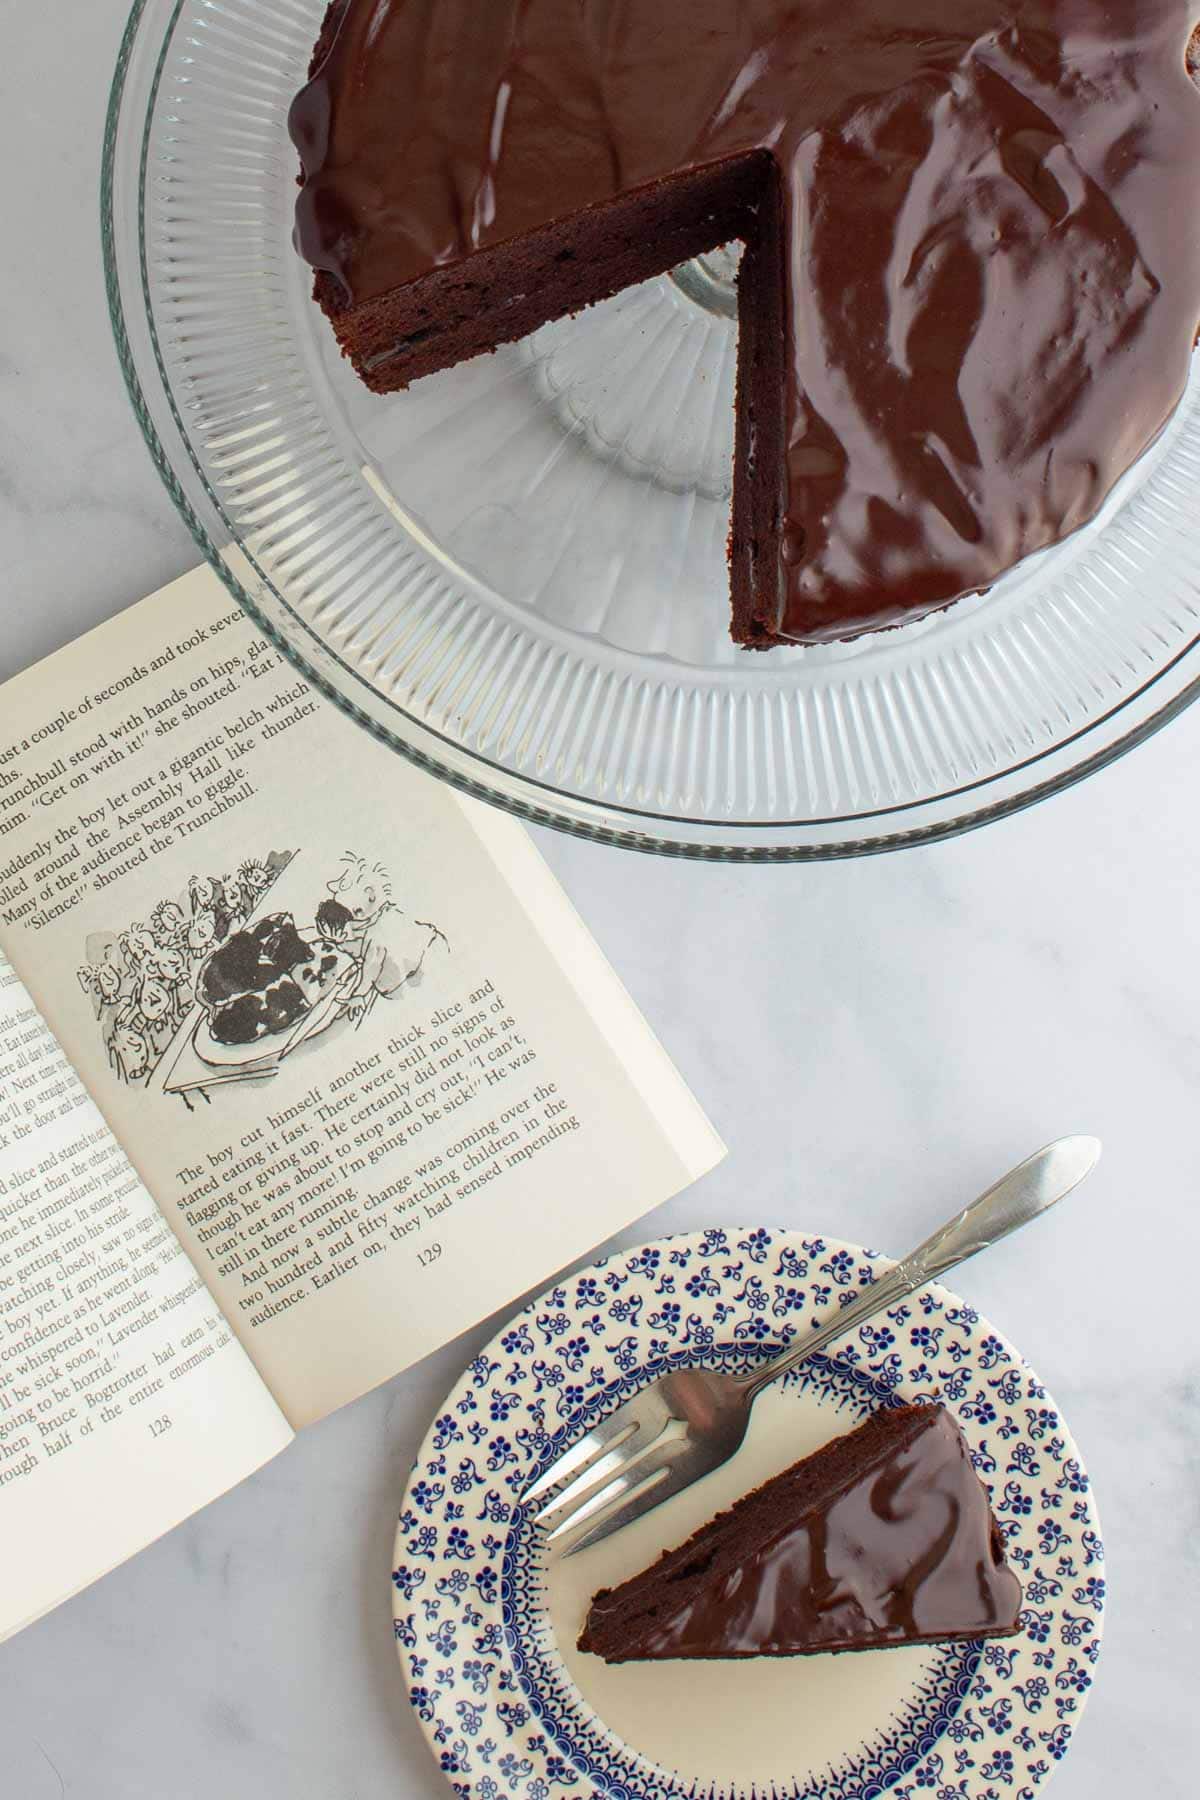
'There you are, Bogtrotter,' the Trunchbull said, and once again her voice became soft, persuasive, even gentle. 'It's all for you, every bit of it. As you enjoyed that slice you had yesterday so very much, I ordered cook to bake you an extra large one all for yourself.'
Roald Dahl, Matilda
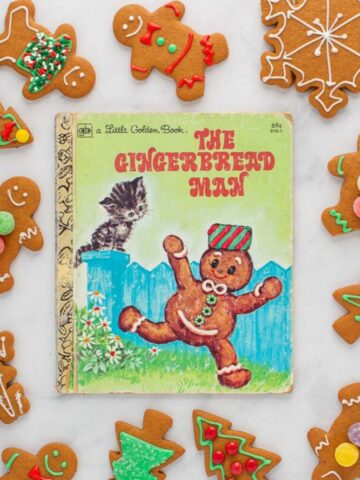
The chocolate cake featured in Matilda is so iconic that there's even a scratch-and-sniff chocolate cake edition of the book available for sale. It's the one pictured here, and it really does smell like chocolate!
In the story, one day at school, Miss Trunchbull calls Bruce Bogtrotter, one of Matilda's classmates, to the stage at a school-wide assembly. She accuses him of eating a piece of chocolate cake that had been set aside for her, then presents him with a giant chocolate cake of his own. In just one example of her absolutely unhinged behavior, she challenges Bruce to eat the entire cake in one sitting as punishment. But, lo and behold, it doesn't end up being a punishment at all! Defying all the odds, Bruce steadily eats slice after slice until the whole cake is gone, and the students erupt in cheers of collective triumph.
So, a rich, decadent, seemingly-impossible-to-eat-the-whole-thing (but you might want to) chocolate cake was in order. There are a million ways to make a chocolate cake, but I wanted this one to be very simple for kids (and adults!) to make. To me, that meant a bowl-method cake, with no mixer or food processor in the equation. I also wanted it to be towering-ly tall and stacked with layers, just as it appears in the illustration.
In the book, the cake is described as being 18 inches across. And while a two-layer, foot-and-a-half-wide cake would certainly fit the bill of "impressive," that's not a size of cake pan I (or most people) have at home. I decided to use 8-inch pans instead, as they're a common size and would help the layers bake up extra tall. I kept the stir-together cake batter simple, but scaled it up to make sure the layers were impressively thick. For the most intense chocolate flavor and fudgiest texture, using Dutch-processed cocoa powder in the batter won out over natural cocoa.
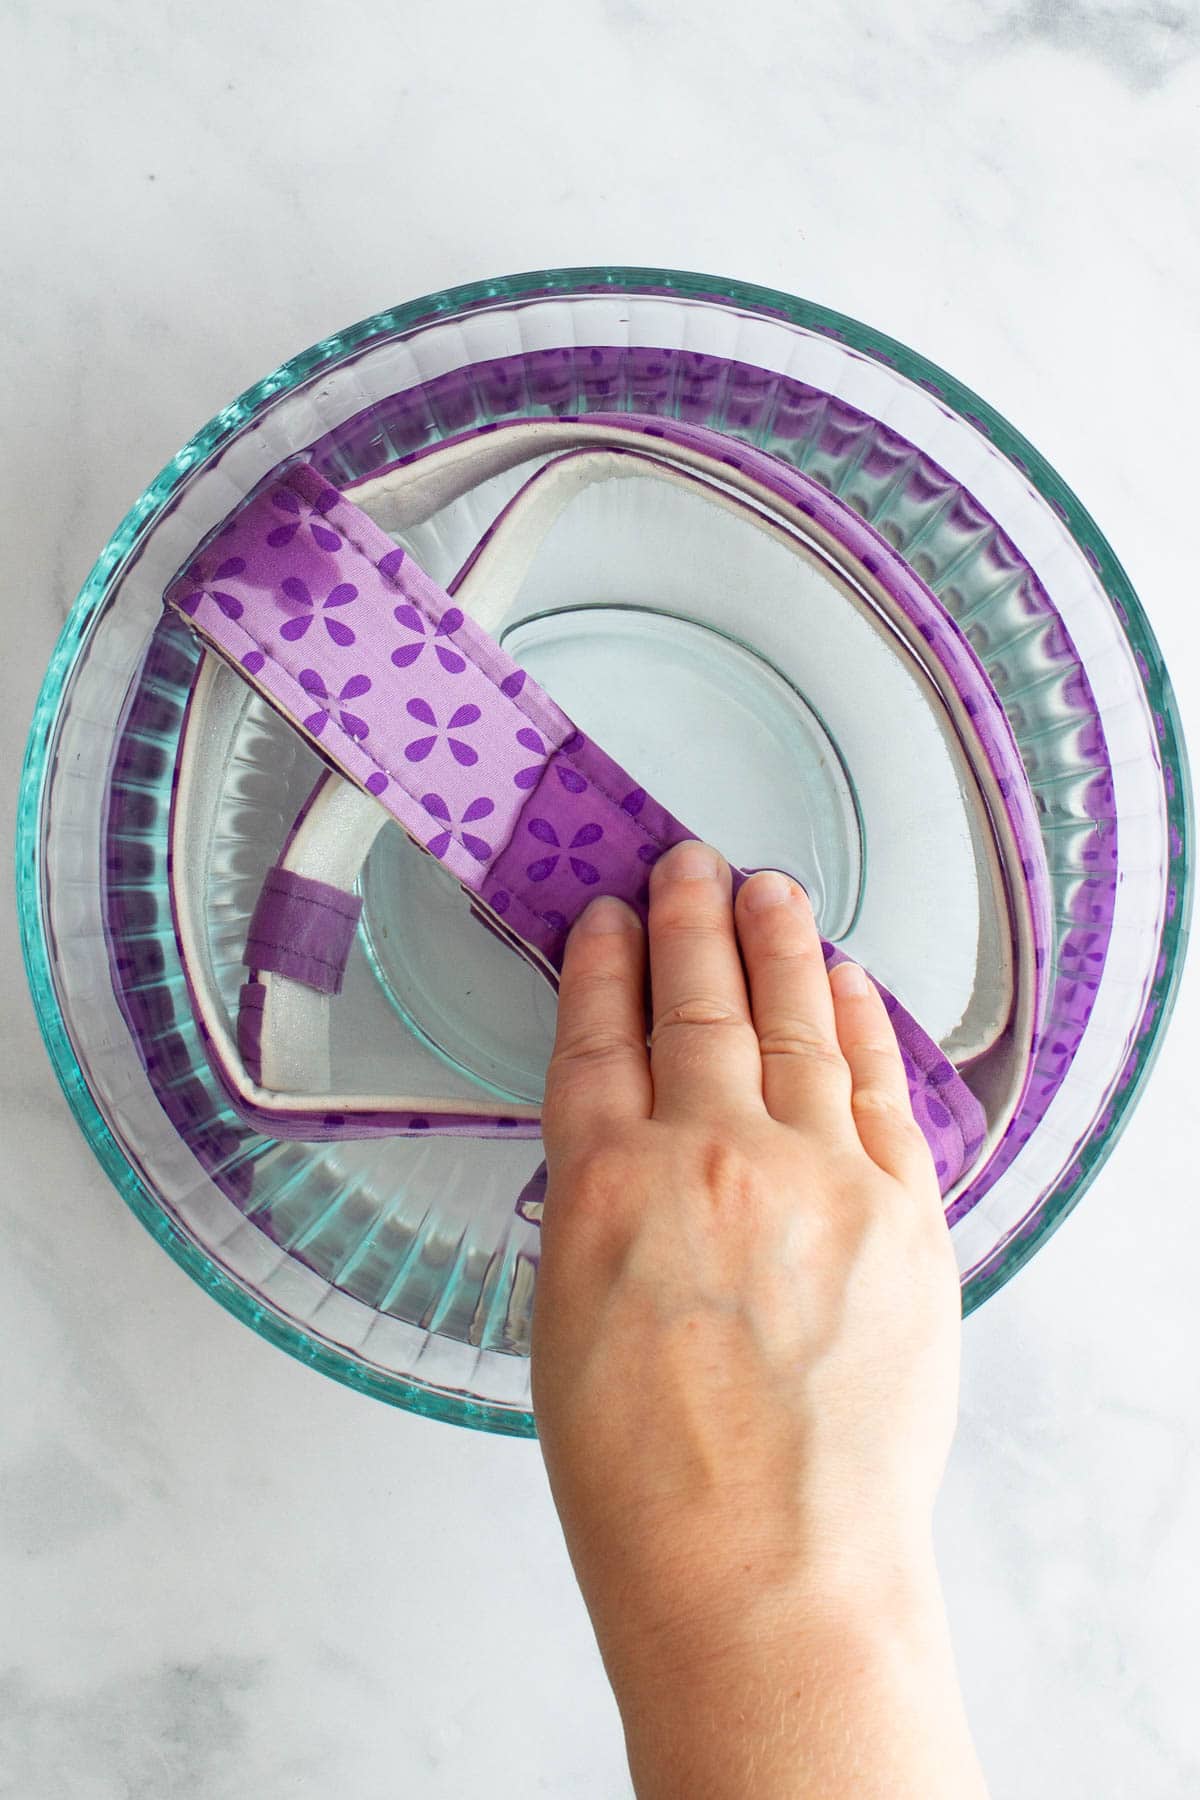
The real stumbling block I faced with the cake was keeping the layers flat so that they would be easy to stack. I made cake after cake adjusting the quantities of baking powder and baking soda and playing with the oven temperature, but the cakes domed noticeably every time. In the end, cake strips saved the day. I had never used them before, but other bakers swear by them to bake level cakes. Essentially, they are insulated fabric bands that you soak in water, then wrap around the sides of a cake pan. They slow down the cooking of the batter on the sides so that the edges and the middle bake at a more similar rate, resulting in a flatter cake. I used these cake strips by Wilton with great success, but you can also create the same effect using wet paper towels and foil as outlined in this guide by The Preppy Kitchen.
Now that my cake layers were flat and easy to stack, it was time to fill and top them. And here I'll confess: I'm not the biggest fan of frosting. While it's easy to make and fun to decorate with, I usually find it to be too sweet, and frosting a layer cake with it can be a pain. And if I had to eat a whole layer cake frosted with buttercream, I'd never make it!
So, instead, I opted for a luxurious chocolate ganache filling and topping that would double down on the rich chocolate flavor in the cake. Ganache is made of just two simple ingredients, warm cream and chopped chocolate, and offers a gorgeous shine and luxurious texture when they're melted together. It looks fancy, but is so easy to make! I opted for chocolate chips to eliminate any knife work in the recipe, and made just enough to add a generous swath of ganache in the middle of the cake and some on top to drip tantalizingly down the sides. This was a cake I'd be tempted to eat all of by myself!
Ingredients You'll Need
To make Bruce Bogtrotter's Chocolate Ganache Cake, you'll need:
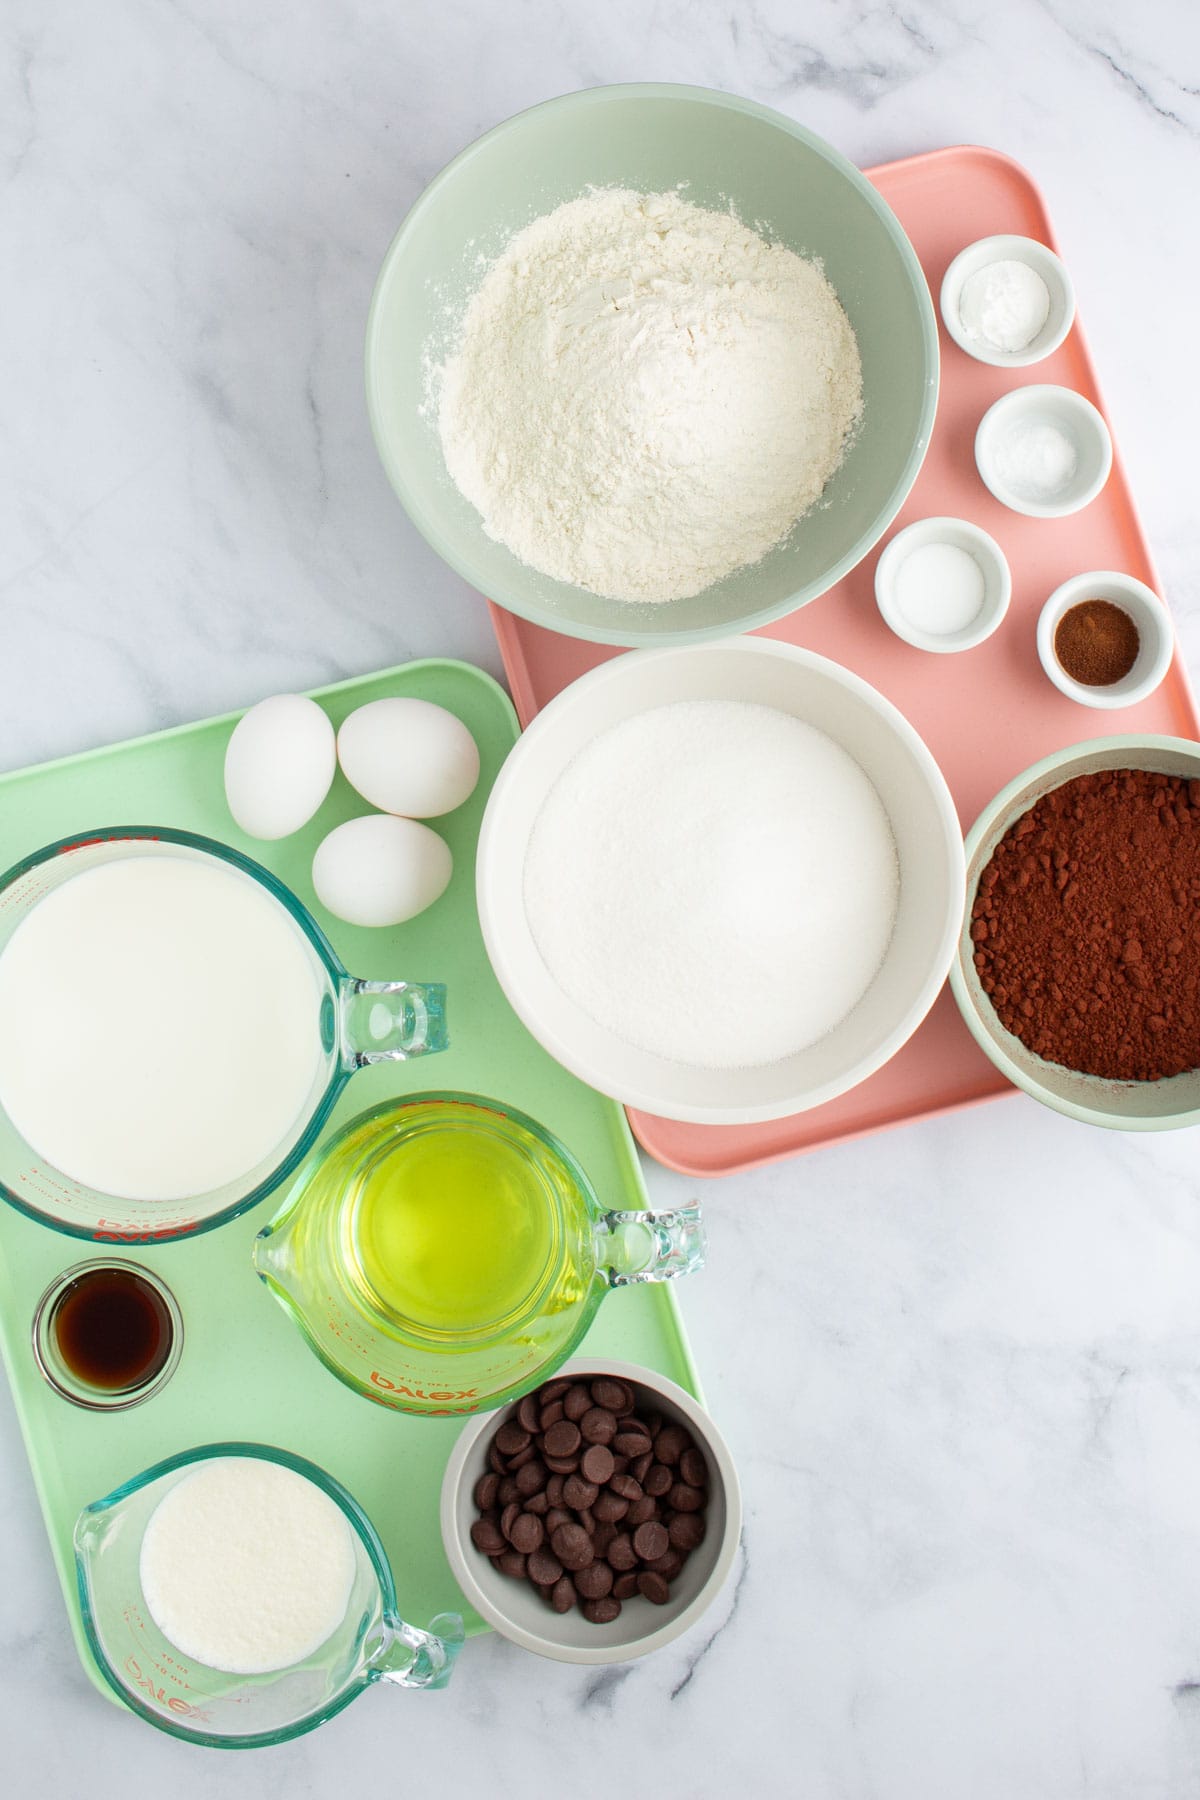
- All-purpose flour
- Granulated sugar
- Dutch-processed cocoa powder: This type of unsweetened cocoa powder gives the cake extra fudgy richness and is worth seeking out for this recipe; Droste is my favorite brand. If you use natural unsweetened cocoa powder (like Hershey’s), the cake will be lighter in color and drier.
- Baking powder and baking soda
- Table salt
- Instant espresso powder: This is optional, but makes the chocolate taste more chocolate-y (but not like coffee!).
- Whole milk
- Vegetable oil: Use a neutral oil like canola here.
- Eggs
- Vanilla extract
- Heavy cream
- Bittersweet or semisweet chocolate chips: Fans of dark chocolate flavor should opt for bittersweet chips here; if you like things more mild, go for semisweet. Whichever you choose, use a high-quality brand of chocolate; I used Ghirardelli 60% cacao bittersweet chocolate chips to develop the recipe (my favorite!).
How to Make Chocolate Ganache Cake
The full recipe with detailed timing and instructions for Bruce Bogtrotter's Chocolate Ganache Cake is below, but here are some key moments to look out for along the way:
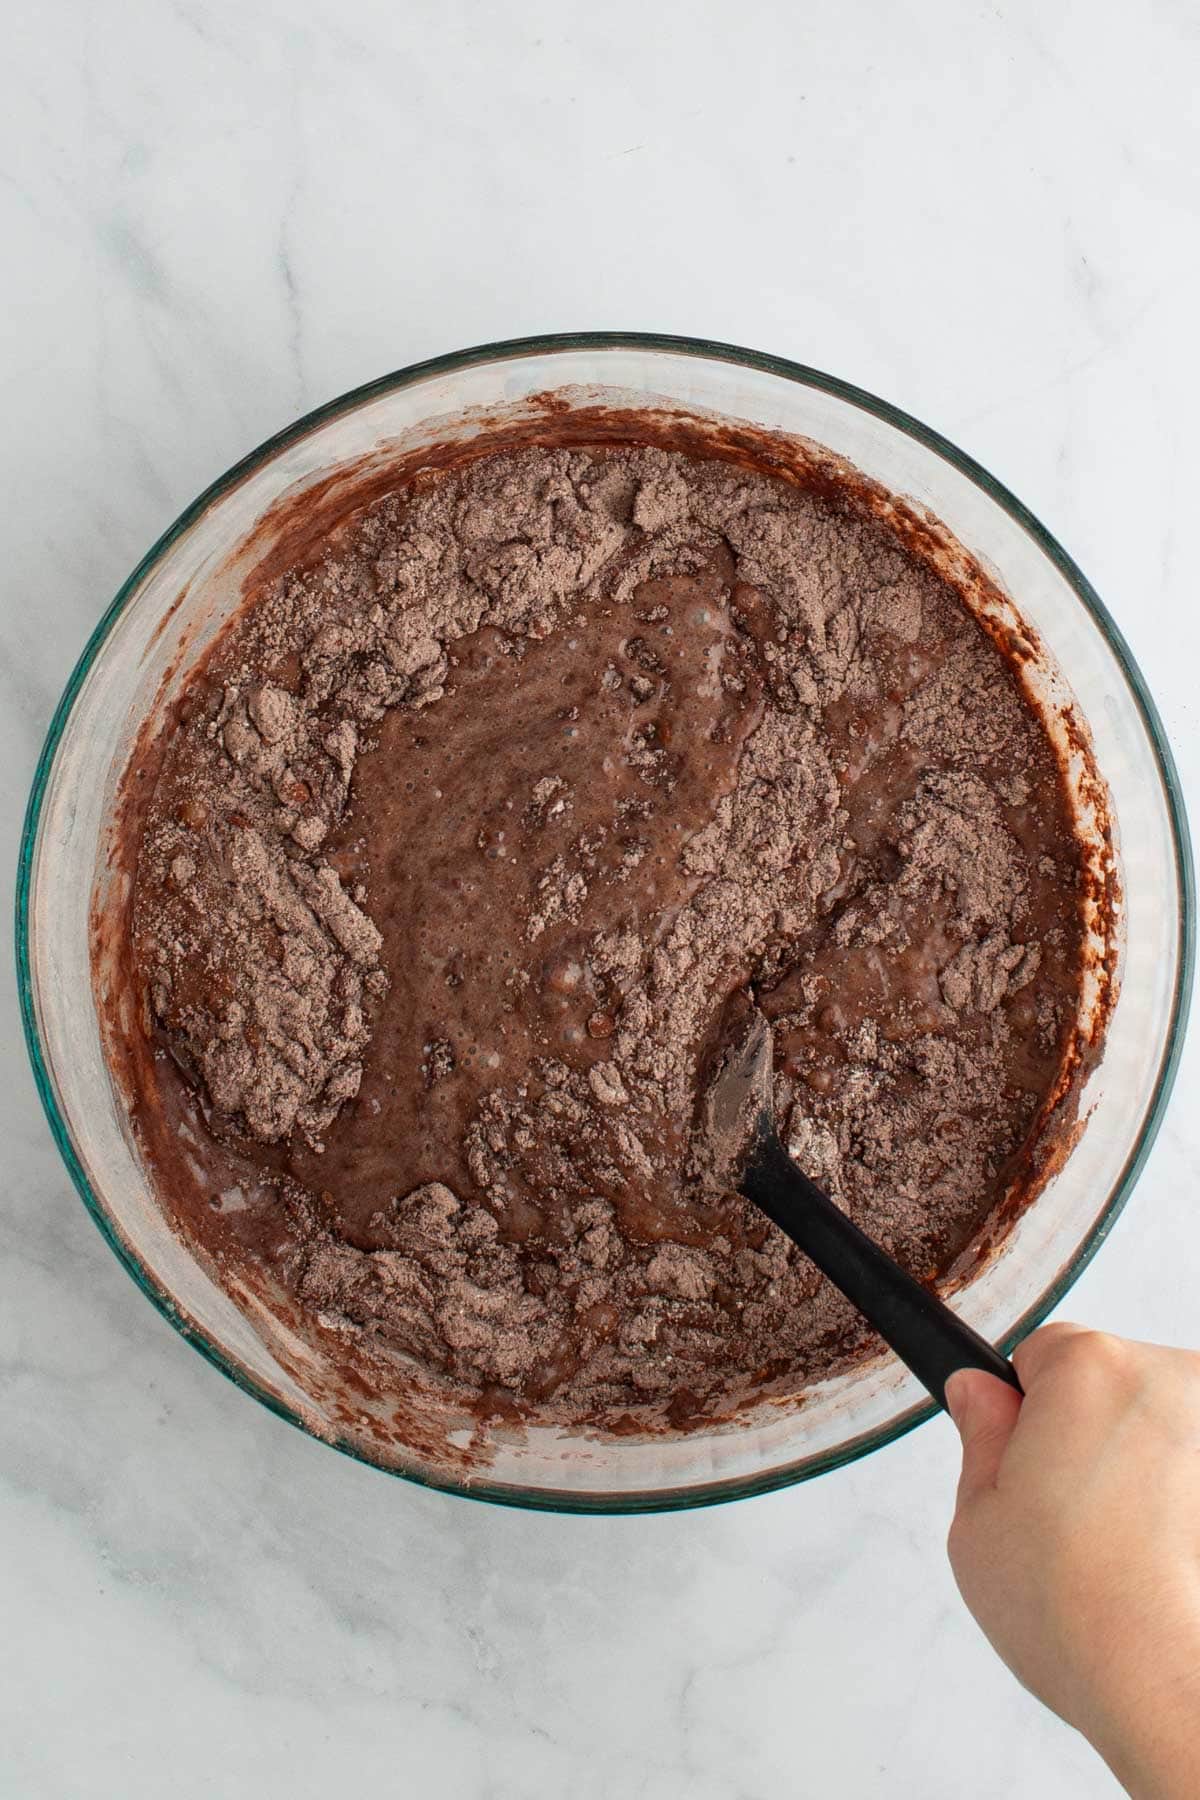
- Mix the batter: Combine the dry and wet ingredients together in a bowl and stir together--no mixer required!
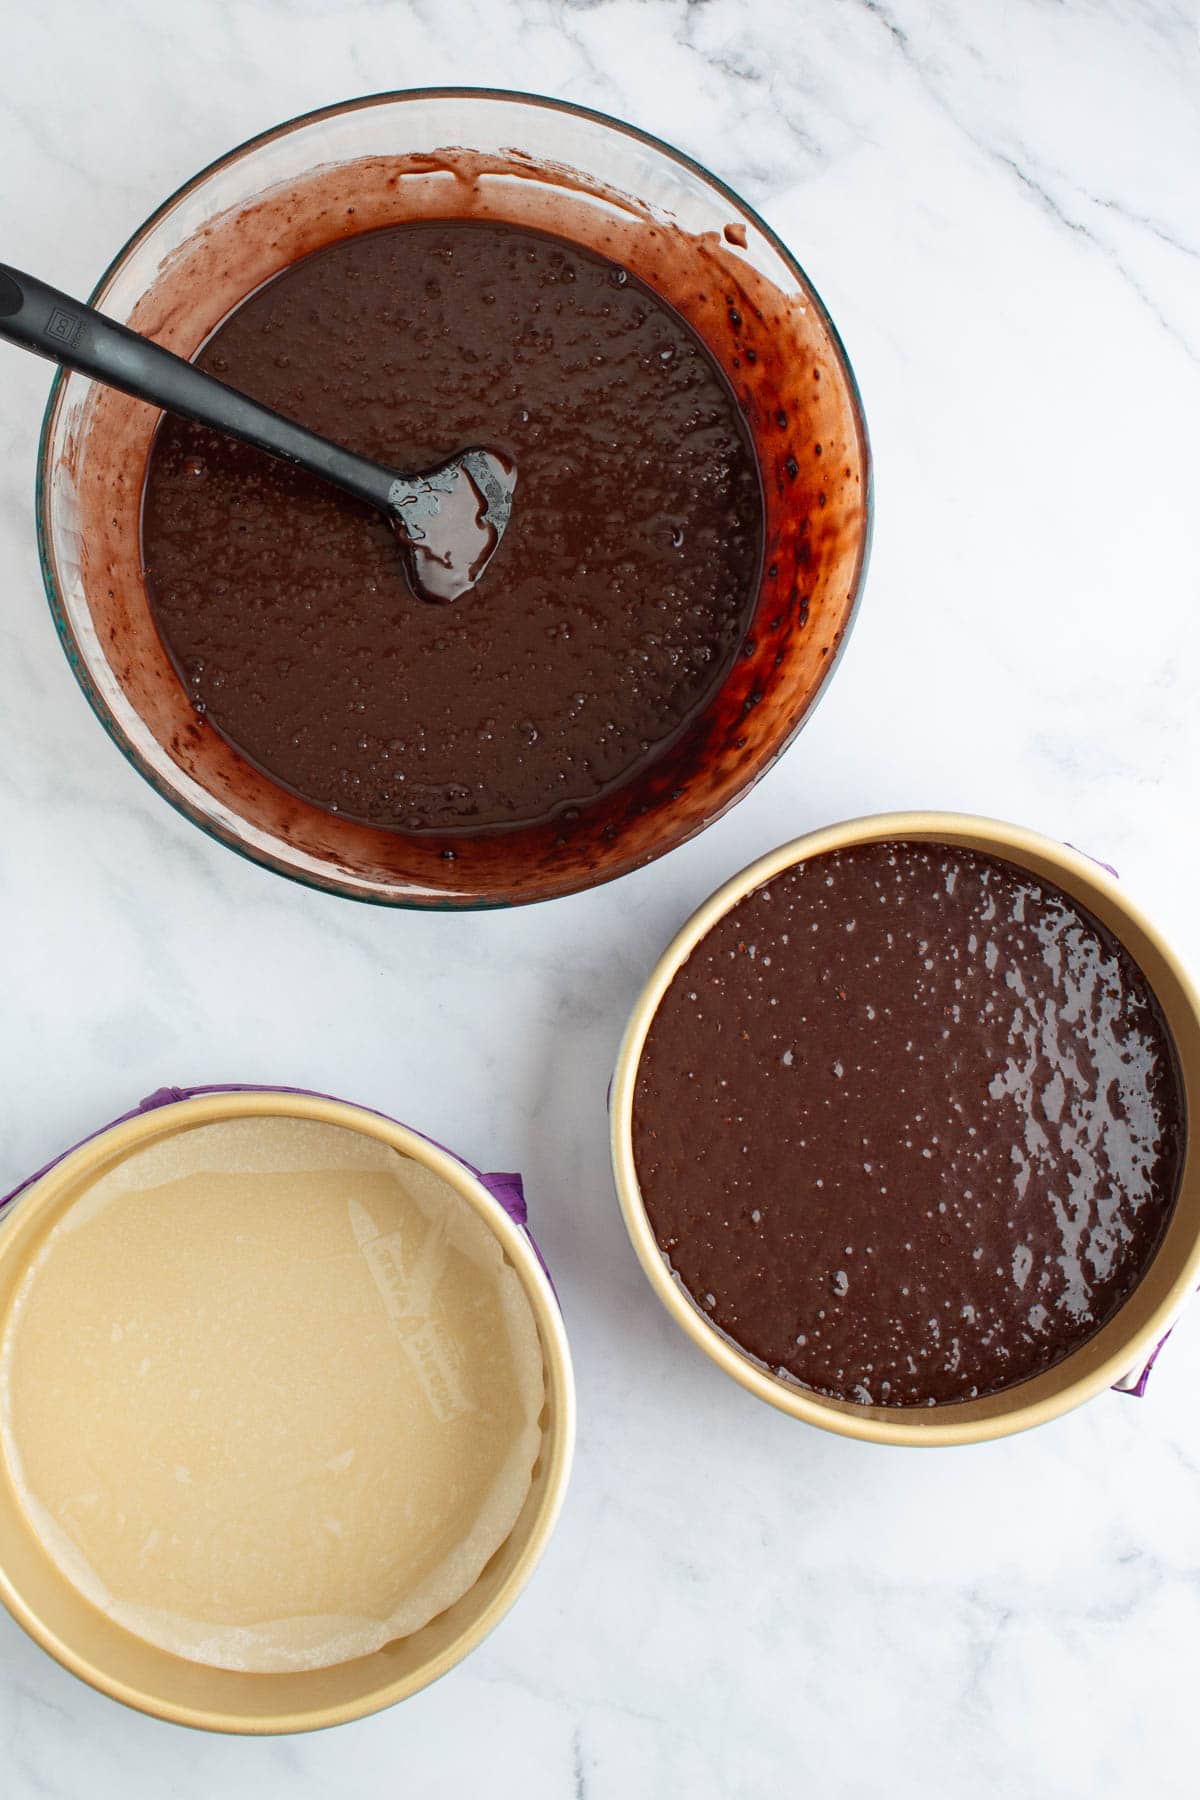
- Divide the batter: To make your two cake layers, divide the batter evenly between two (8-inch) round cake pans. Use cake strips on the sides of the pans for the flattest layers.
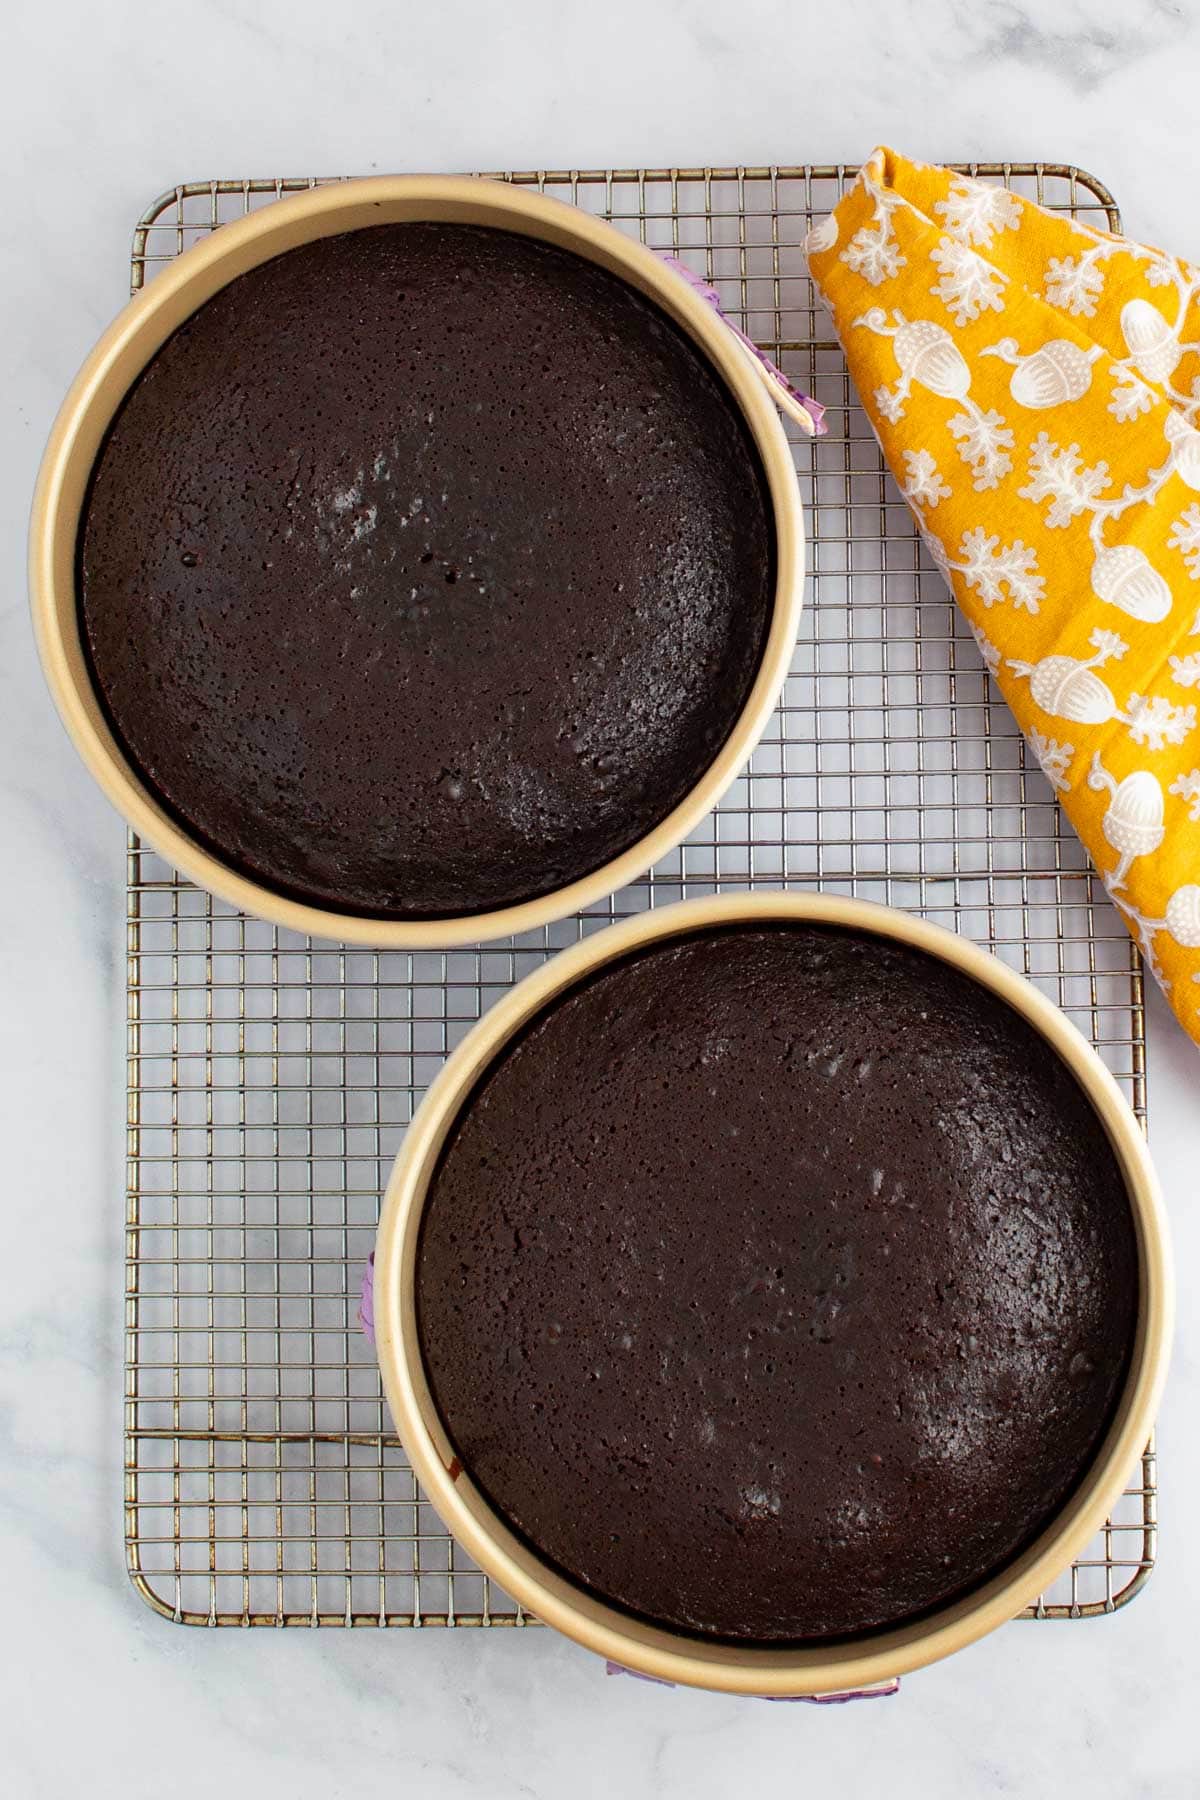
- Bake: Bake the cake layers until puffed, cooked through, and shiny, then let cool completely in the pans.
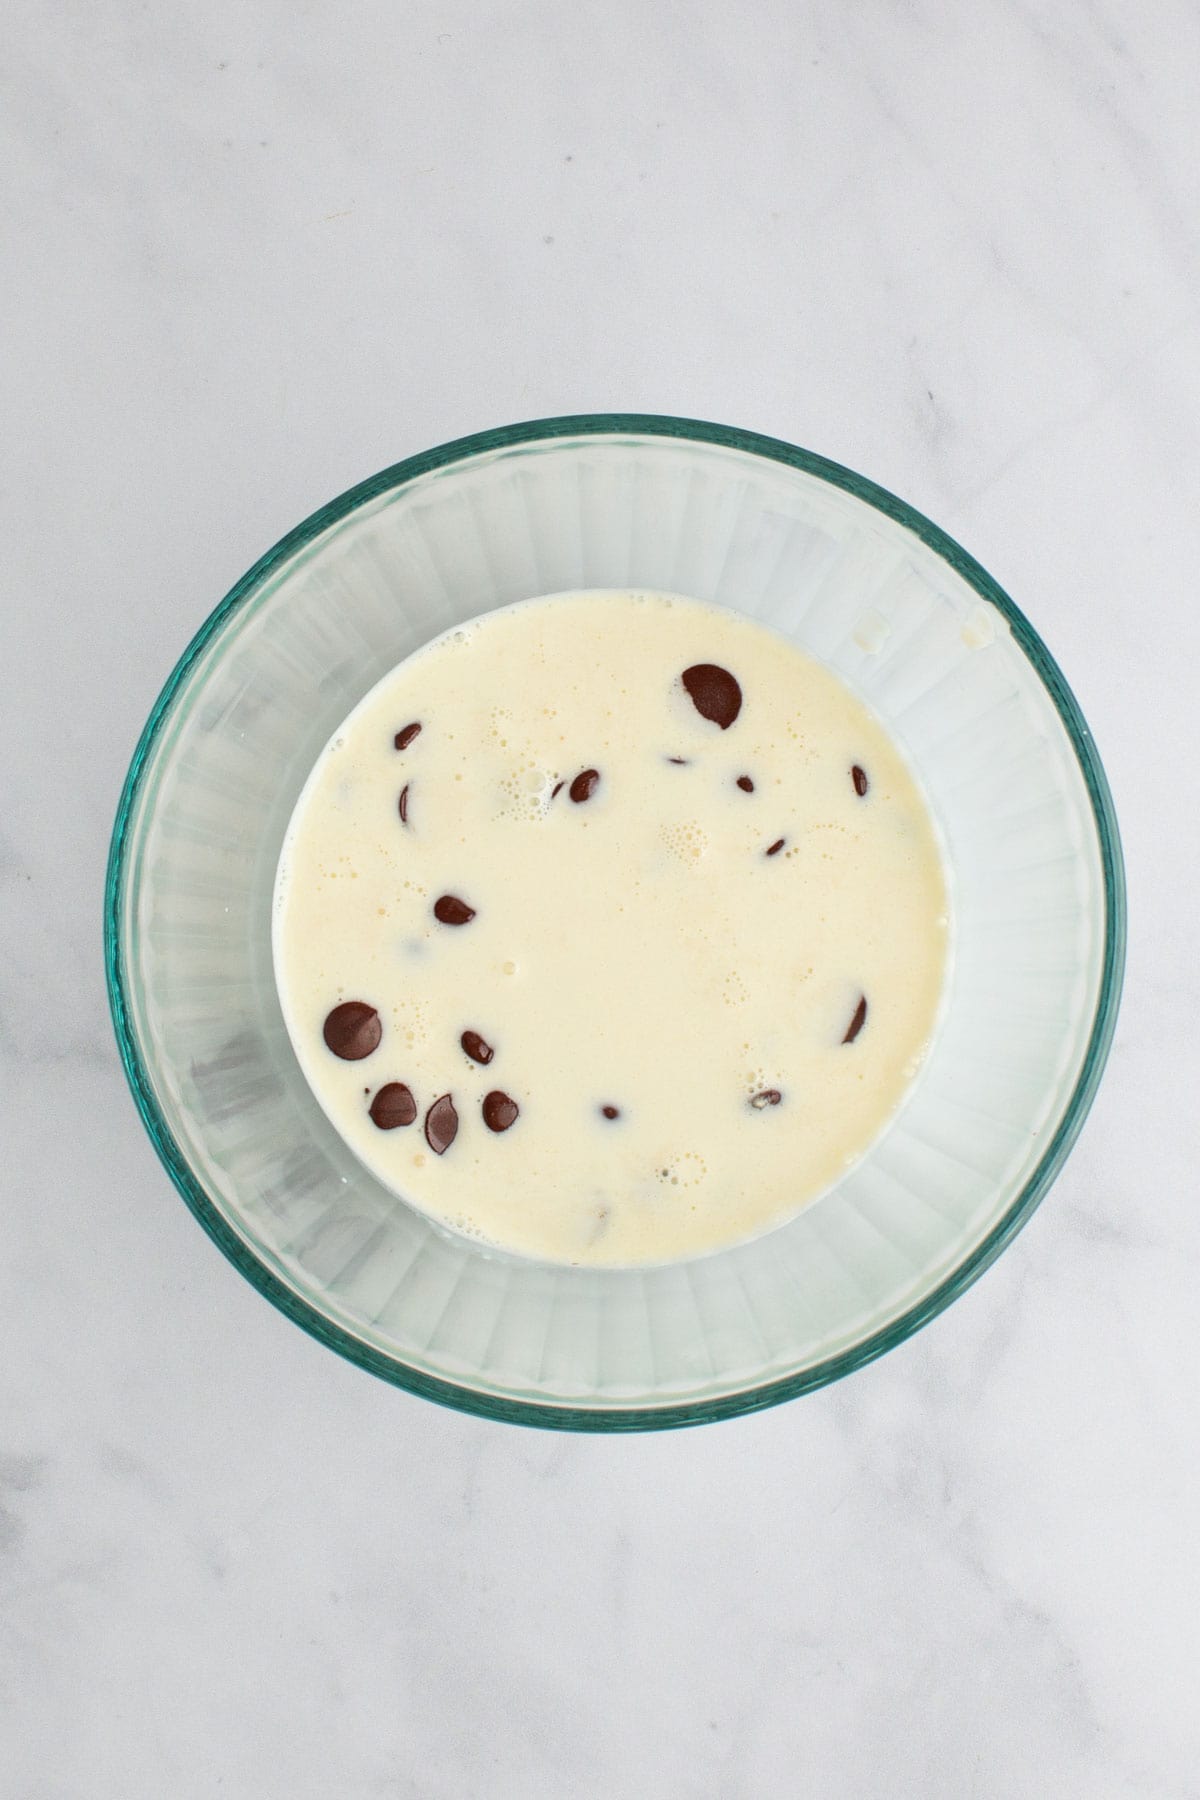
- Make the ganache: Combine the chocolate chips and warmed cream in a heatproof bowl and let sit until the chips melt. Then, stir the mixture together into a shiny ganache.
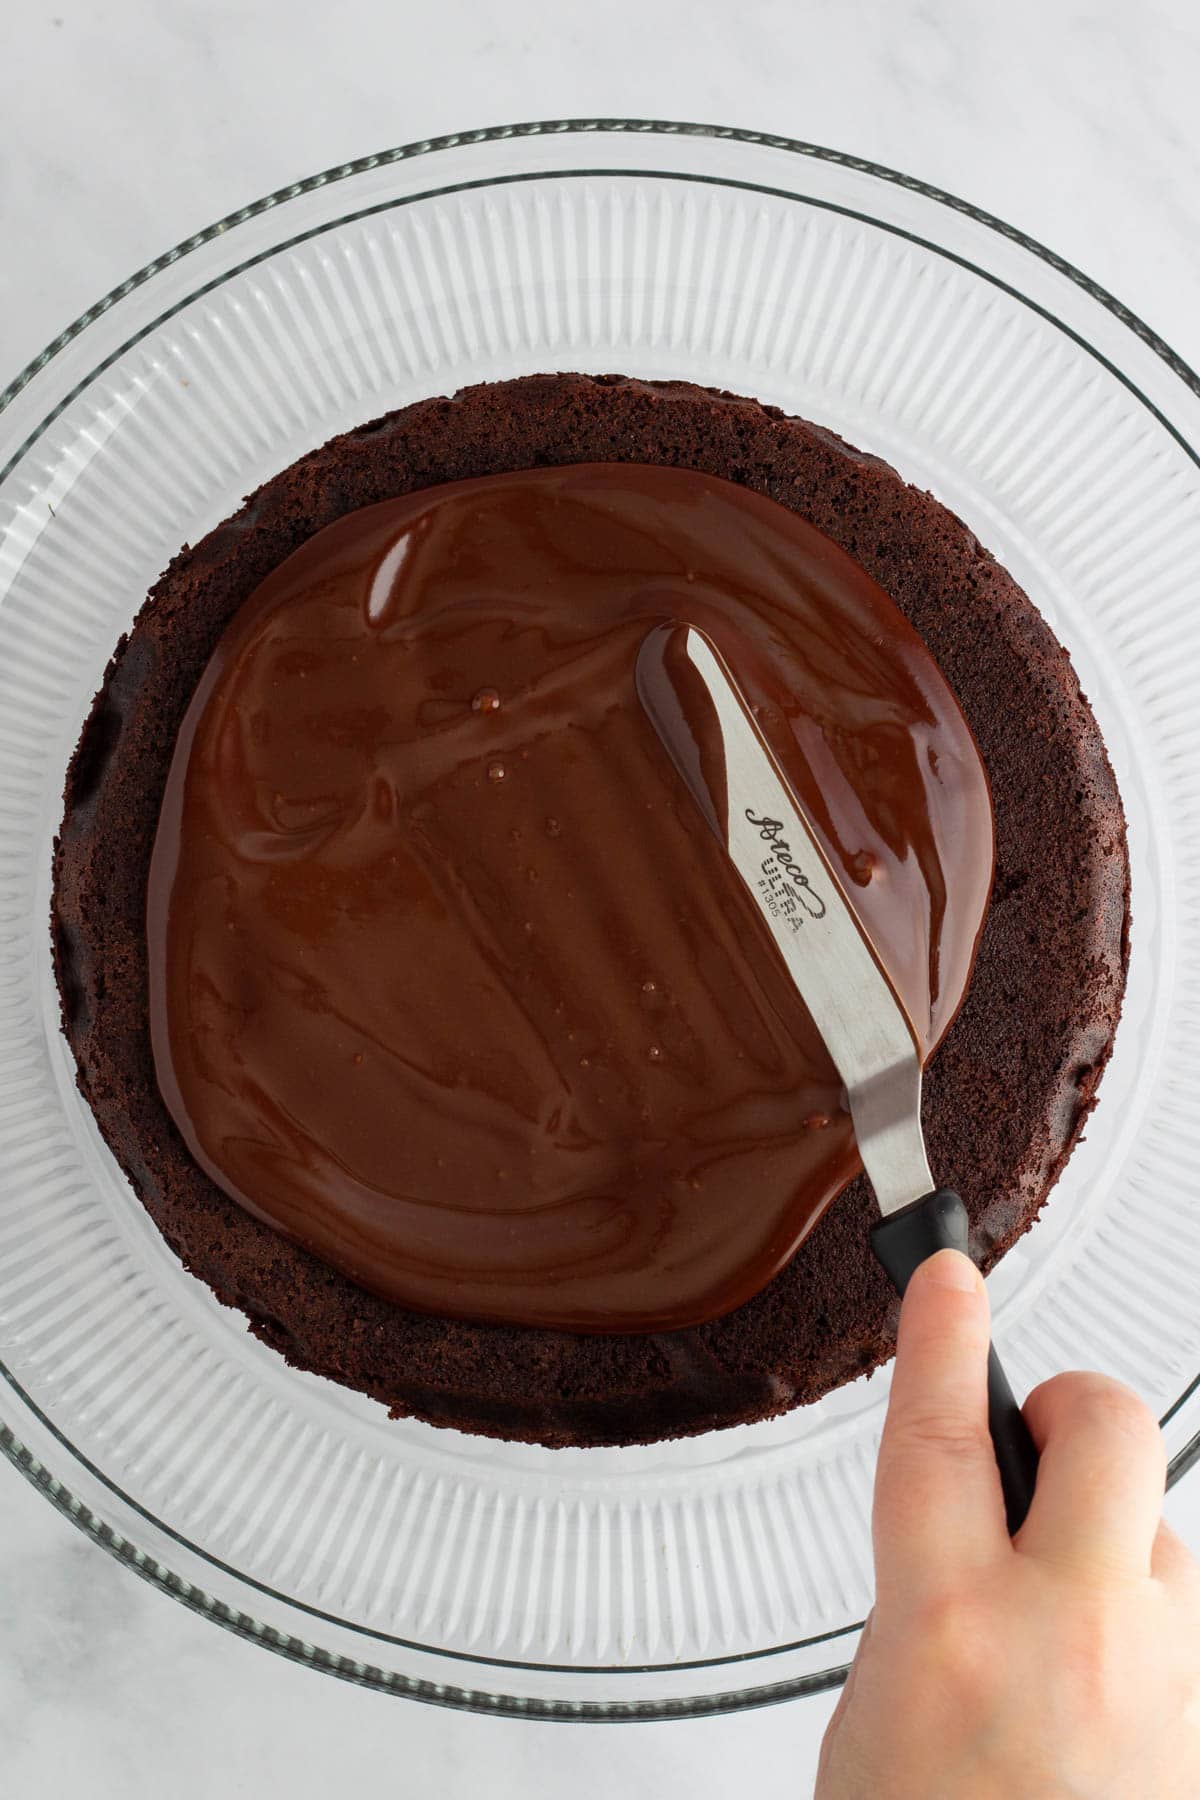
- Fill the cake: Place one cake layer, upside down with the flattest side up, on a plate or platter. Spread it with ½ cup melted ganache, stopping ½-inch from the edges.
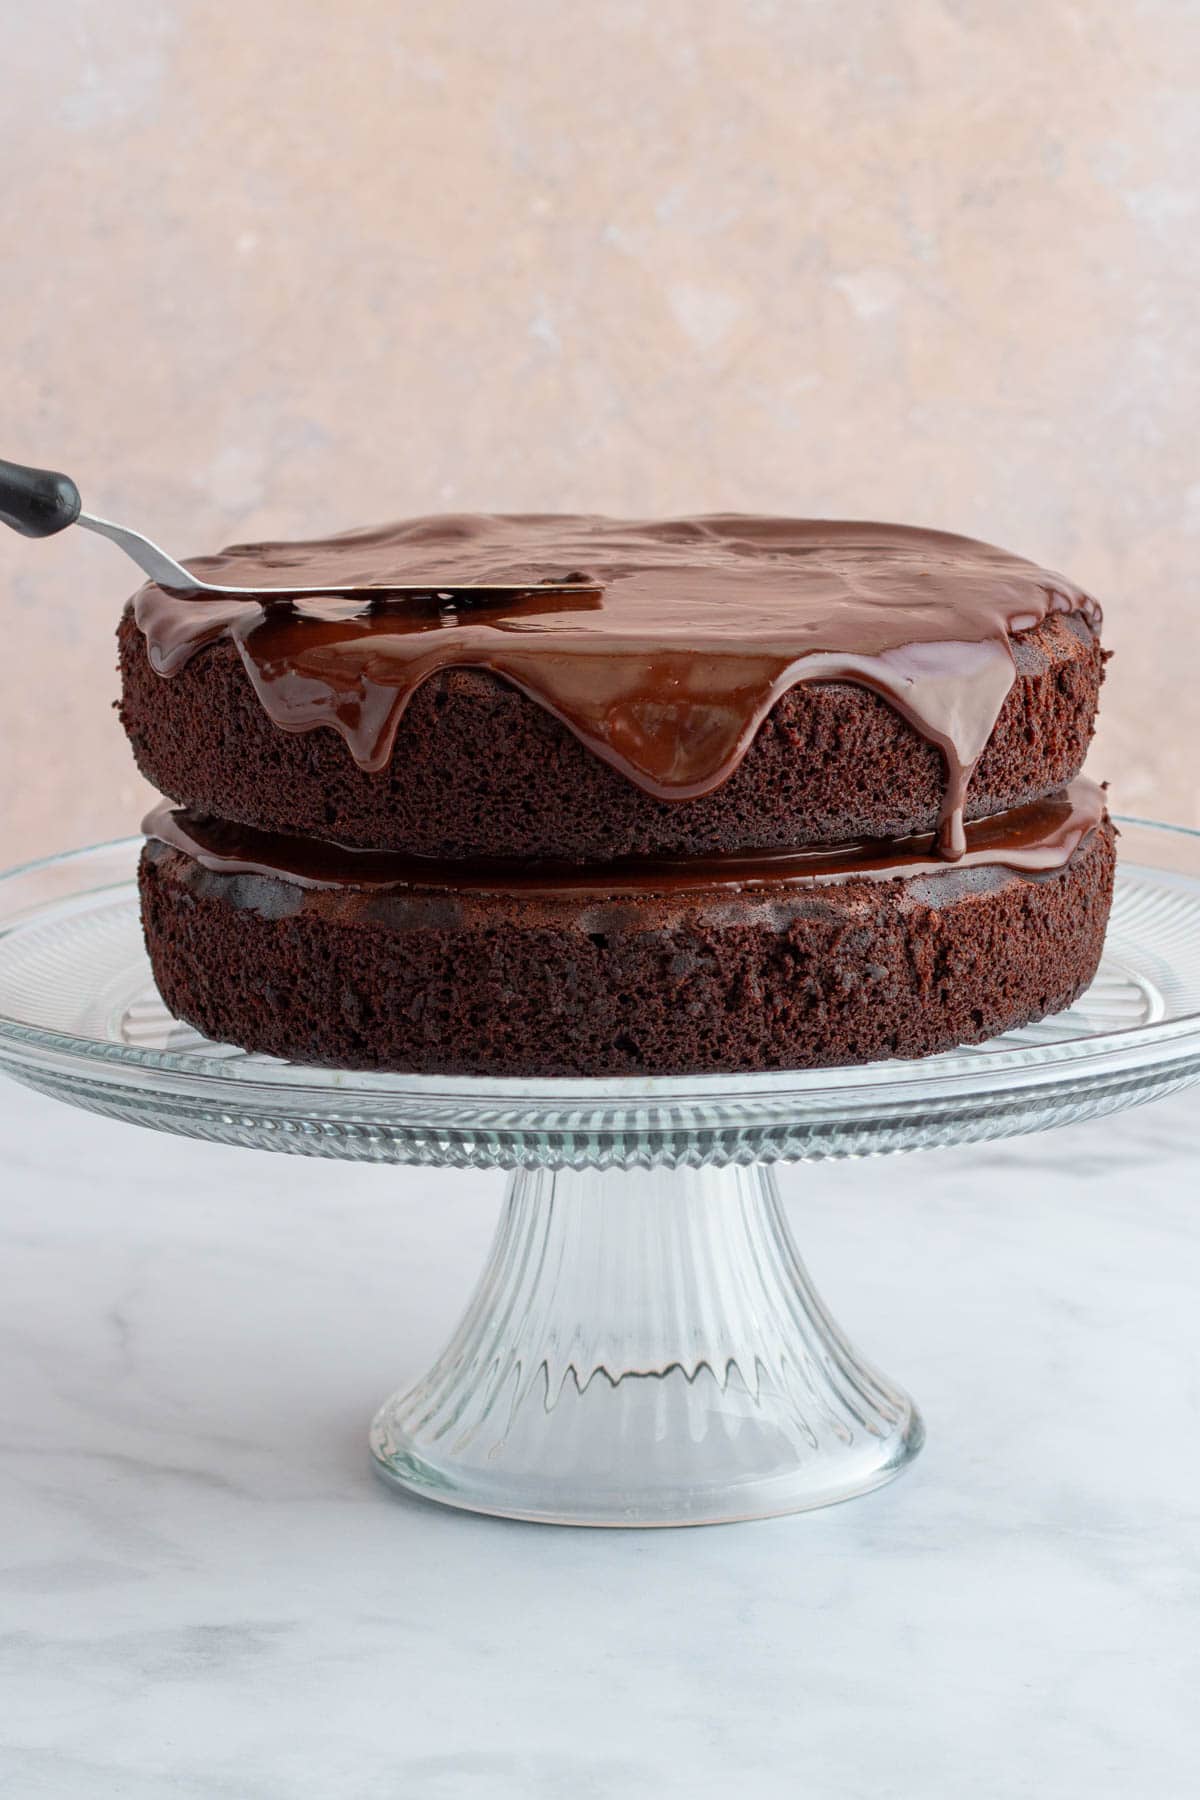
- Top the cake: Add the second cake layer on top of the filling, smooshing the ganache to the edges. Spread the rest of the ganache on top, letting it drip down the sides a little bit.
Why This Recipe Is Great for Kids
I've spent years writing cookbooks and creating recipes that are safe, fun, and engaging for kids and home cooks of all ages. Here are some key features of this recipe that make it perfect for kids and families to make together at home:
- You don't need a mixer or food processor to make this Chocolate Ganache Cake, just a couple of bowls! The batter is made from simple ingredients and comes together quickly and easily.
- The ganache makes the cake look ultra fancy, but is secretly super easy to make from just two ingredients.
- Kids (and adults!) can feel proud of making an impressive showstopper cake to share with friends and family for any celebration. Or they can eat it all themselves--no judgment here!
Let's Cook!
Gather your equipment, measure your ingredients, and get cooking with this kid-friendly recipe! If you loved making it together, please leave five stars and share your stories in the comments.
Bruce Bogtrotter's Chocolate Ganache Cake
Good To Know
- Dutch-processed cocoa powder gives this cake extra fudgy richness and is worth seeking out for this recipe; Droste is my favorite. If you use natural unsweetened cocoa powder (like Hershey’s), the cake will be lighter in color and drier.
- Using cake strips on the outsides of the cake pans help the cake layers to bake up flat and level, making them easier to assemble with the ganache filling later. If you don’t have cake strips, you can make your own DIY cake strips with wet paper towels and foil. Or, skip the strips entirely; your cake layers will have domed tops in this case, but an adult can slice off the tops to level the cakes before assembling in step 10 (your cake will just be a bit shorter overall, but still delicious).
- To make parchment circles to line the cake pans, you can set the cake pans on a piece of parchment paper, trace around them with a pencil, then cut out the circles with scissors. Or, if you bake a lot of cakes, you can buy pre-cut parchment rounds that make life very easy!
Equipment You'll Need
- 2 (8-inch) round cake pans
- 2 cake strips, presoaked in water (see note)
- 2 (8-inch) circles of parchment paper
- 3 bowls (1 large, 1 medium, 1 medium heatproof)
- Whisk
- Rubber spatula
- Toothpick
- Oven mitts
- Cooling rack
- Small saucepan
- Butter knife
- Large plate or serving platter
- Spoon
- Small offset spatula (optional)
- Chef's knife
Measure Your Ingredients
- Cooking spray
- 2 ¼ cups (11 ¼ ounces) all-purpose flour
- 2 ¼ cups (15 ¾ ounces) granulated sugar
- 1 ½ cups (4 ½ ounces) Dutch-processed cocoa powder (see note)
- 1 ½ teaspoons baking powder
- ¼ teaspoon baking soda
- 1 teaspoon table salt
- ½ teaspoon instant espresso powder (optional)
- 2 ¼ cups (18 ounces) whole milk
- 1 cup vegetable oil
- 3 large eggs
- 1 tablespoon vanilla extract
- ⅔ cup bittersweet or semisweet chocolate chips
- ½ cup heavy cream
Let's Cook!
- Set your oven rack to the middle position and heat the oven to 325 degrees. Wrap two 8-inch round cake pans with pre-soaked cake strips (or make your own or skip this; see note above).
- Cooking spraySpray the insides of the pans with cooking spray. Place a parchment paper circle inside each cake pan and spray again with cooking spray.
- 2 ¼ cups (11 ¼ ounces) all-purpose flour, 2 ¼ cups (15 ¾ ounces) granulated sugar, 1 ½ cups (4 ½ ounces) Dutch-processed cocoa powder, 1 ½ teaspoons baking powder, ¼ teaspoon baking soda, 1 teaspoon table salt, ½ teaspoon instant espresso powder, 2 ¼ cups (18 ounces) whole milk, 1 cup vegetable oil, 3 large eggs, 1 tablespoon vanilla extractIn a large bowl, whisk together the flour, sugar, cocoa, baking powder, baking soda, salt, and espresso powder (if using). In a medium bowl, whisk together the milk, oil, eggs, and vanilla.
- Add the milk mixture to the flour mixture and use a rubber spatula to stir until just combined and no dry flour is visible.
- Scrape the batter into the greased parchment-lined cake pans, dividing it evenly between the pans. Shake the pans gently to spread the batter into an even layer.
- Bake until the cakes are puffy and shiny and a toothpick inserted into the center of one cake comes out clean, 55 to 65 minutes.
- Use oven mitts to remove the cake pans from the oven and place them on the stovetop or a cooling rack. Let the cakes cool completely in the pans, at least 2 hours.
- ⅔ cup bittersweet or semisweet chocolate chips, ½ cup heavy creamWhen you’re ready to assemble your layer cake, place the chocolate chips in a medium heatproof bowl. In a small saucepan, heat the heavy cream over medium heat until just beginning to bubble around the edges, 2 to 4 minutes.
- Pour the hot cream over the chocolate chips, making sure they’re completely covered. Let the mixture sit undisturbed for 5 minutes.
- Meanwhile, use a butter knife to loosen the edges of the cakes from the sides of each cake pan. (If you didn’t use cake strips and your cake layers have domed tops, ask an adult to remove the cakes from the pans and carefully slice off the tops with a bread knife to make flat, level layers.) Tip one of the cakes out of the pan onto your hand, then place it upside down onto a large plate or serving platter (the flat bottom of the cake will be facing up). Peel off the parchment paper and discard.
- Use a spoon to stir the slightly cooled chocolate mixture until it’s fully combined, smooth, and shiny.
- Pour about ½ cup of the chocolate ganache onto the top of the cake on the plate. Use a small offset spatula or the back of the spoon to spread the ganache into an even layer that stops about ½ inch from the edges of the cake.
- Tip the other cake out of the pan onto your hand. Place the cake, upside down, on top of the other cake. Peel off the parchment paper and discard. Press down gently to spread the ganache in the middle to the edges.
- Spread the rest of the ganache on top of the cake, letting it drip down the sides. Let the cake sit for at least 15 minutes for the ganache to set.
- Cut into slices and serve (or eat the whole thing by yourself in one sitting, Bruce Bogtrotter-style!).
Conversation Starters
As the cake bakes and cools, talk about what it was like to make the recipe together, and the themes in Matilda. You can help young readers make connections to the book and share your own answers, ideas, and stories with them with the following prompts:
- What is your very favorite type of cake to eat? Do you think you could eat a whole one in one sitting all by yourself?
- What were the different kinds of chocolate you used in this recipe? How were they similar and different?
- In this book, some people have power, and others do not. How does Matilda help make things more fair for herself and for others?

Margo Lukens says
Okay, so the internet ate my comment the first time, so I am commenting again, after baking the cake twice. It is so delicious, moist, and rich that I think it can stand on its own! Actually, both times I made it, I found myself up against a bittersweet chocolate deficit. The first time I just made a little quantity of ganache for between the layers, and served slices of the cake with drizzled fruit (cooked strawberries or blueberries or whatever with sugar) sauce and whipped cream. The second time, I had only part of a bar of dark chocolate with raspberry, which made the ganache between layers super-tasty. Served again with whipped cream— I would also recommend serving with ice cream ❣️❣️. PS— I now feel like an absolute sage, with the cake strip secret!